Three years ago I moved into a rented house with a huge empty patio and exactly zero dollars left in the budget for outdoor furniture. I’d just spent everything on the deposit and the moving truck. My neighbor had a stack of wooden pallets sitting behind his garage that a delivery company left after dropping off his new fridge, and he told me I could take as many as I wanted.
That’s basically how I fell into pallet furniture. Not because I saw some perfectly styled Pinterest photo and got inspired. Because I was broke and those pallets were free.
I want to be upfront about something before I get into the good stuff: pallet furniture is not “free furniture” in the way a lot of blogs make it sound. It costs you time, a few tools, some patience, and occasionally a bandaid. But if you’re working with a tight budget, it’s one of the cheapest ways I know to furnish a patio, balcony, or even a living room corner. I’ve built a couch, a coffee table, a garden bench, and a raised planter box, and I’ll walk you through what actually worked, what I messed up, and what I’d do differently.
Where to Actually Find Pallets (Don’t Just Grab Any Old One)
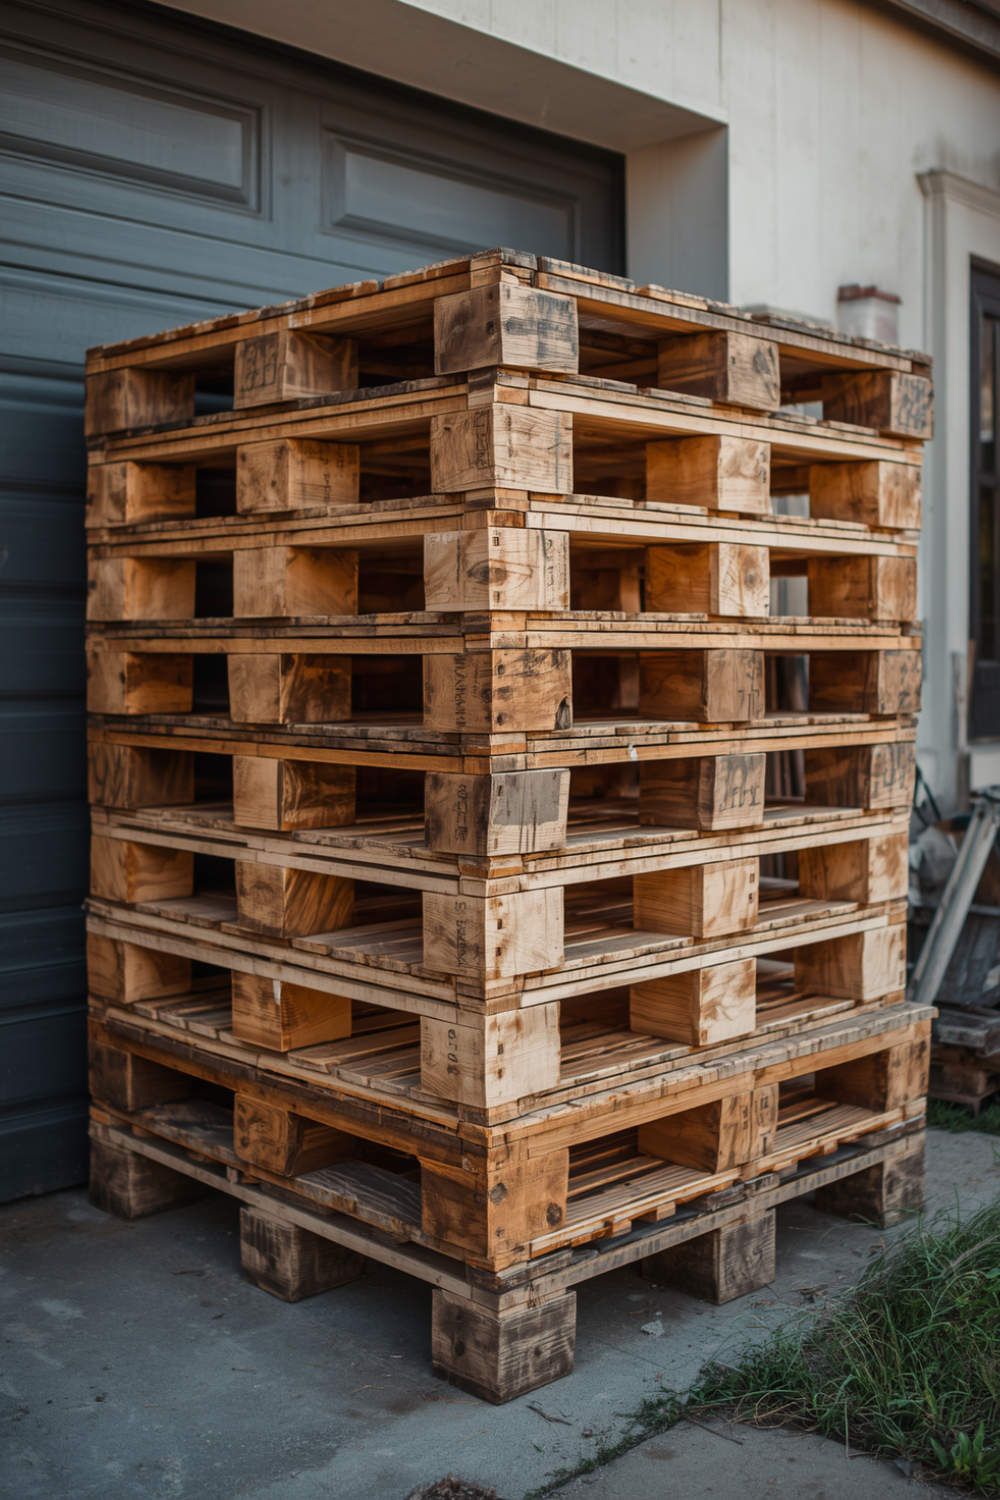
The first mistake I made was grabbing pallets from behind a grocery store without checking them first. Big mistake. Some pallets are treated with chemicals for international shipping, and you really don’t want those anywhere near your house, especially if kids or pets are around.
Here’s the trick I learned later from a guy at a local hardware store: flip the pallet over and look for a stamped code on the block, usually something like “IPPC” with letters next to it.
- HT means heat-treated. This is the one you want. It’s safe.
- MB means methyl bromide, a fumigation chemical. Skip these completely.
- No stamp at all usually means it was made for local, in-country use, and is often safer, but I still wouldn’t trust it blindly.
Good places to actually find decent pallets:
- Hardware stores and garden centers (ask the staff, don’t just take from the pile without asking)
- Furniture and appliance stores, since they often just want to get rid of them
- Facebook Marketplace, where people literally post “free pallets” listings in almost every city
- Local breweries or bottling companies, since their pallets tend to be sturdier
I’ve paid as little as nothing and as much as five dollars per pallet when someone wanted a bit of gas money for delivering them in a truck.
The Tools I Actually Used (Nothing Fancy)
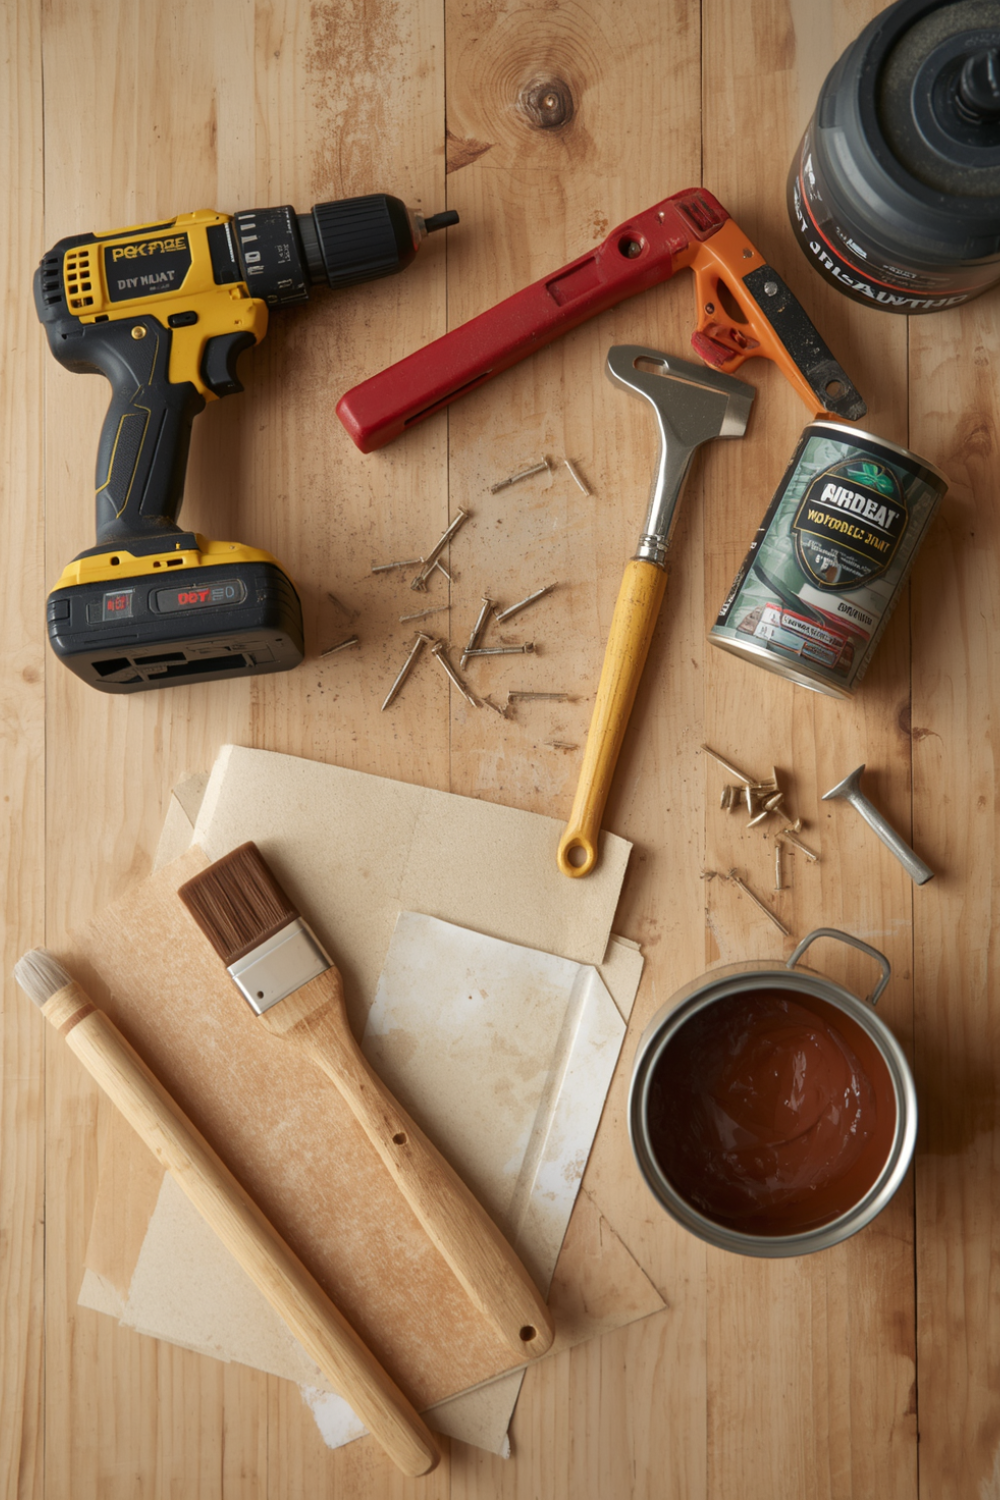
You do not need a full woodshop for this. I built everything I made with a fairly basic setup:
- A cordless drill/driver (I use a cheap Black+Decker one, nothing special)
- A pry bar or a “pallet buster” tool, which honestly saved me hours of frustration
- Sandpaper, both coarse and fine grit, or a cheap electric sander if you can borrow one
- Wood screws, not nails, because nails split the wood way more easily
- A handsaw or a jigsaw if you want cleaner custom cuts
- Wood stain or exterior paint, plus a couple of cheap brushes
I did not own a table saw, and honestly, I still don’t. You can make surprisingly good furniture without one.
Taking Pallets Apart Without Losing Your Mind
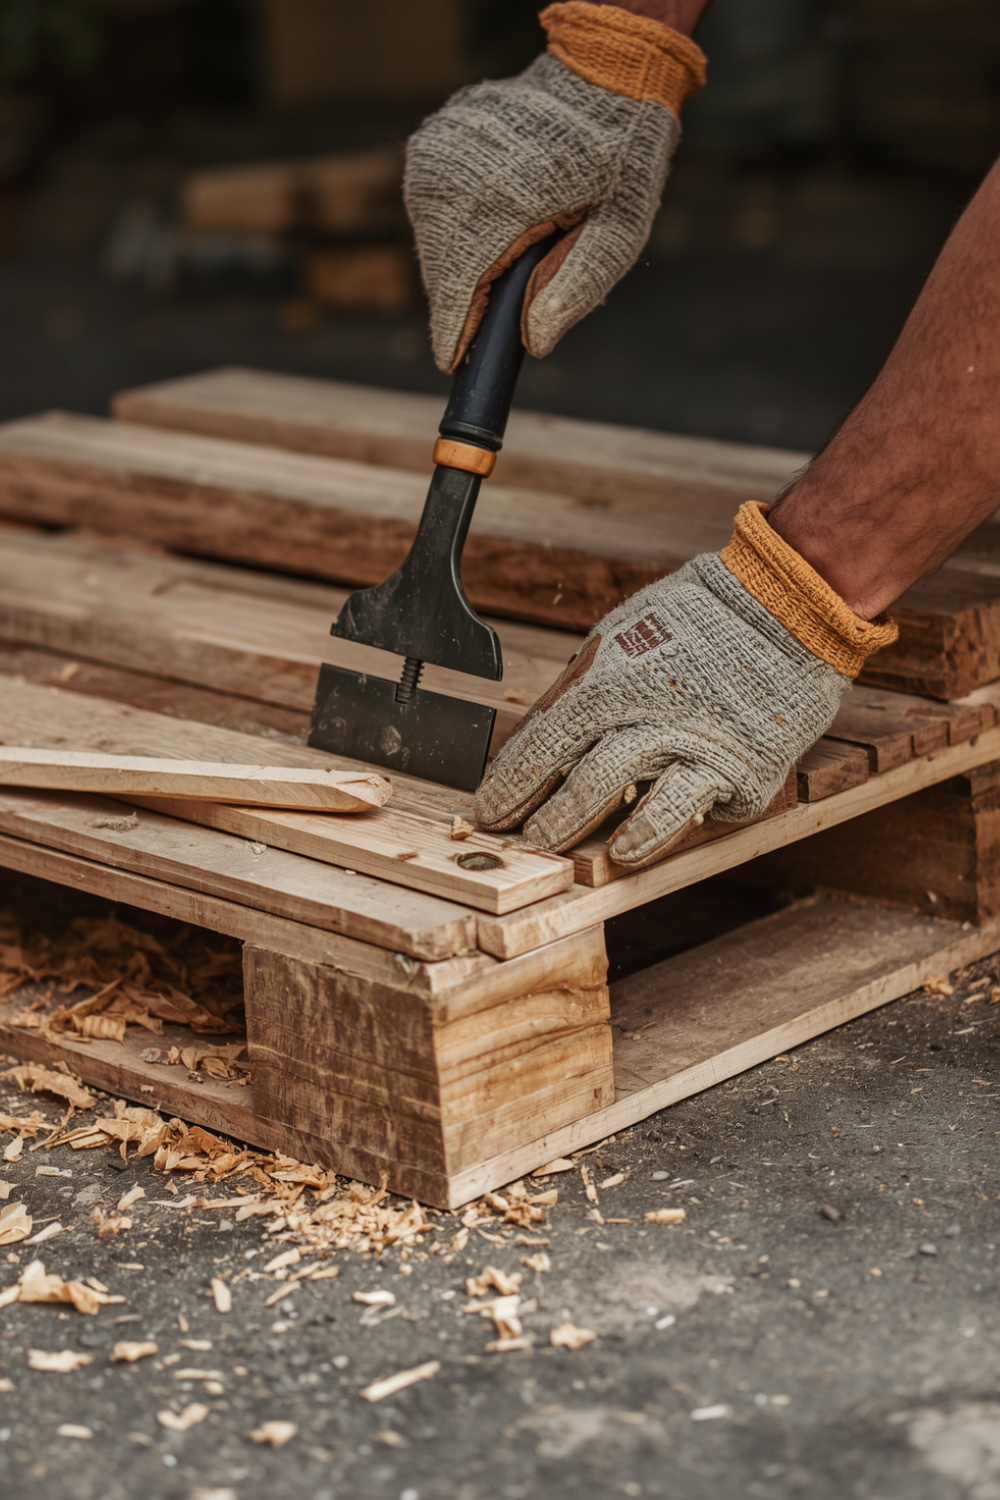
This part took me longer than anything else to figure out. My first attempt at prying apart a pallet with just a hammer and a flathead screwdriver took almost two hours and left me with three cracked boards and a sore back.
What actually works:
- Slide the flat end of a pry bar or pallet buster right at the point where a board meets the block.
- Tap it gently with a hammer to wedge it in, don’t force it in one big motion.
- Rock it side to side slowly instead of yanking upward. The nails will start to loosen.
- Once it’s loose, pull the board straight up, not sideways, or it’ll snap.
If you’ve got the budget for one tool, get an actual pallet buster (they run around 20 to 30 dollars). It looks like a giant crowbar with a flat foot, and it made the whole process about five times faster for me.
My First Build: A Coffee Table That Wobbled for a Month
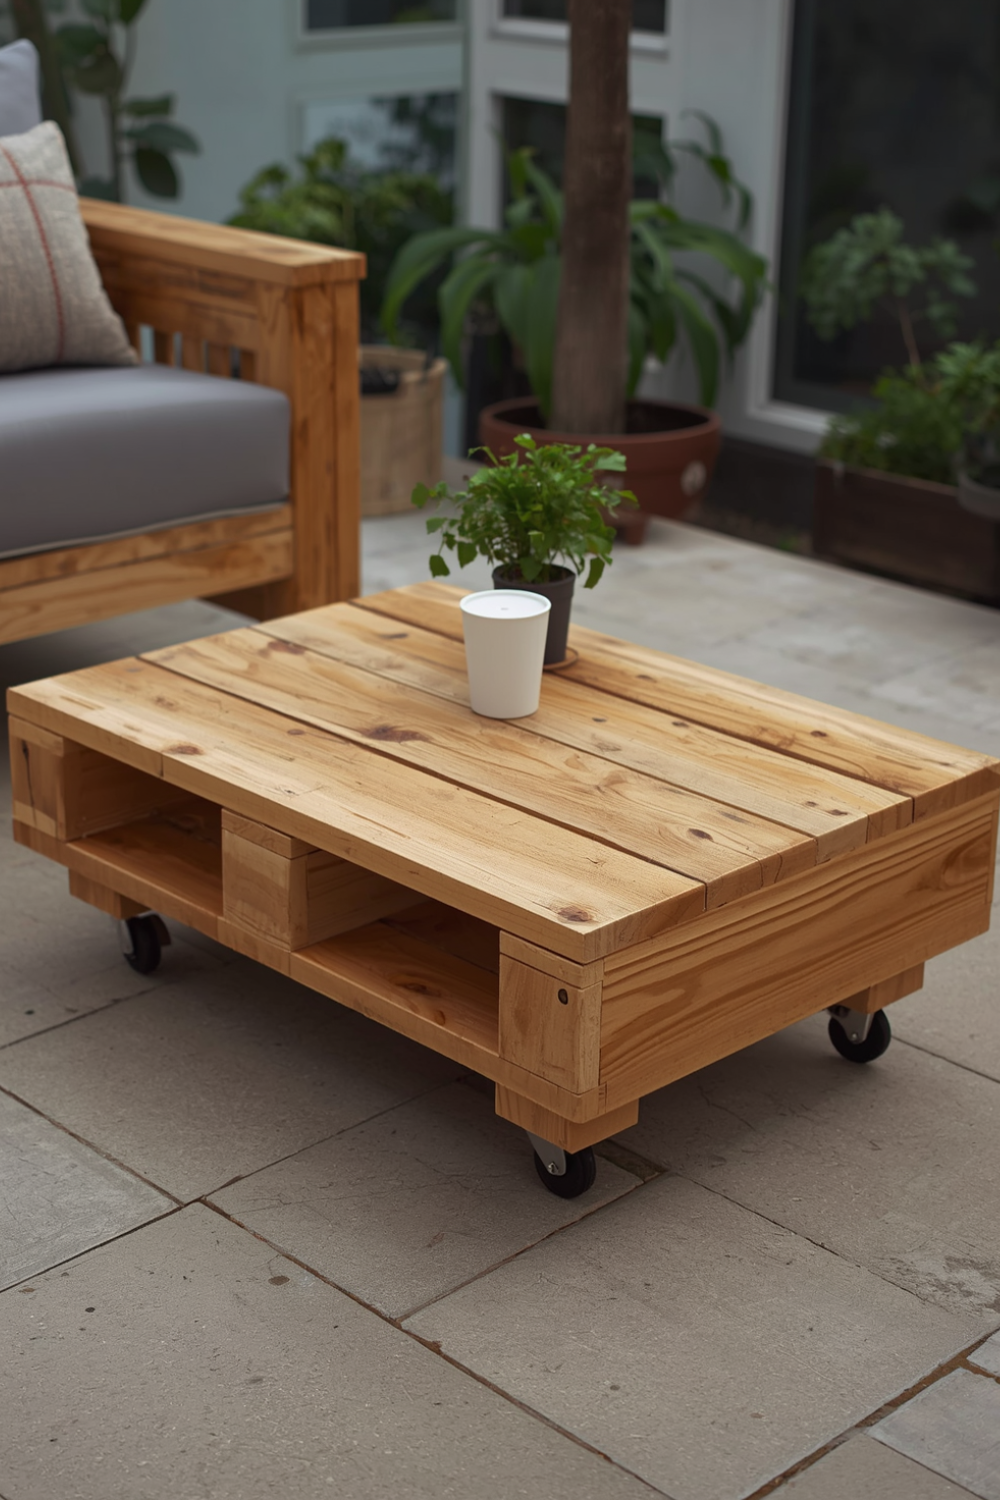
My very first project was a coffee table, and I’m not going to pretend it turned out perfect. I built the frame with mismatched leg lengths because I didn’t measure twice, and for about a month it wobbled every time someone set a coffee mug down.
The fix was almost embarrassingly simple: I bought a pack of adjustable furniture feet for about six dollars and screwed them into the bottom of each leg. Problem solved in ten minutes, after a month of frustration I could’ve avoided by just double-checking my measurements before assembling anything.
Now I measure every single board against the others before I screw anything together. Pallet wood is almost never perfectly uniform, even boards cut from the same pallet.
The Backyard Couch That Actually Gets Compliments
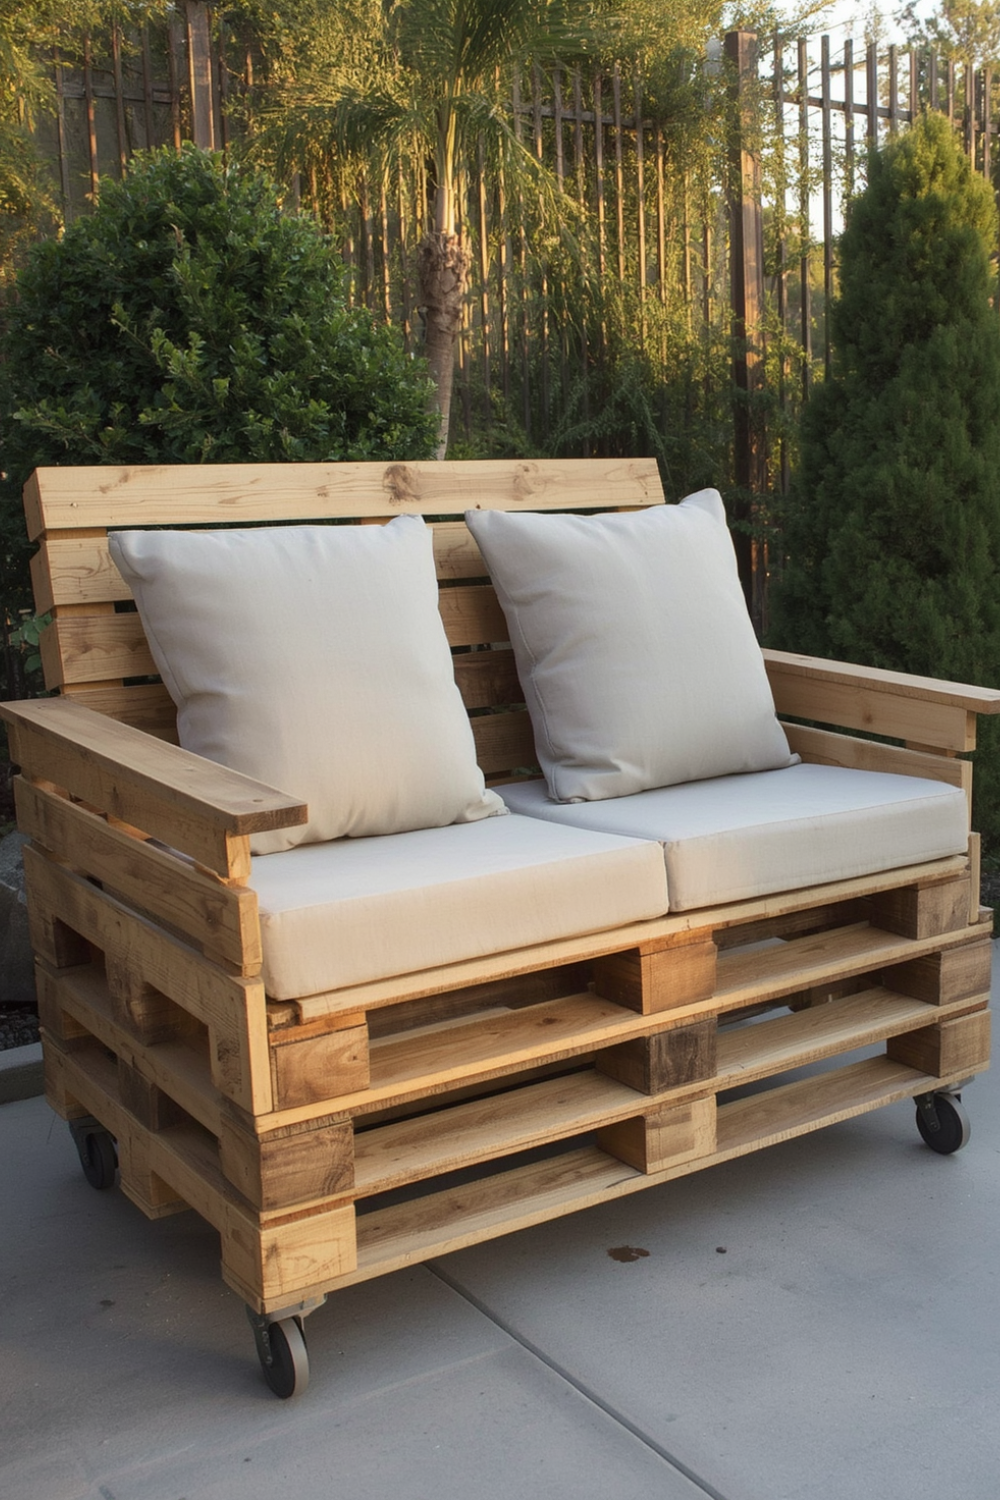
The project I’m proudest of is a two-seat outdoor couch made from two pallets stacked and screwed together for the base, with a simple backrest built from a third pallet cut down with a jigsaw.
Steps I followed:
- Sanded both base pallets down until the rough splinters were gone (this step took way longer than I expected, close to three hours total).
- Stacked them and screwed them together vertically through the blocks, not just the top boards, for real stability.
- Cut the third pallet down to backrest height and angled it slightly backward, propped and secured with L-brackets.
- Added wheels underneath two corners so I could move it without wrecking my back, since the whole thing turned out heavier than I expected.
- Bought cheap outdoor cushions from a discount home store instead of custom-making them, since fabric and foam actually cost more than the wood did.
People who visit still ask where I bought it. The whole build, including cushions, cost me under 70 dollars, and most of that was the cushions.
Common Mistakes People Make (Because I Made Most of Them)
Skipping the sanding step. Pallet wood splinters. A lot. I learned this the hard way when my daughter got a splinter in her palm from a plant stand I built too quickly. Sand more than you think you need to, especially on any surface people will touch.
Using nails instead of screws. Nails are faster, but pallet wood is often already dry and brittle, and it splits easily. Screws hold much better and let you take things apart later if you need to adjust.
Not sealing outdoor pieces. My first pallet planter box wasn’t sealed properly, and it started rotting within four months sitting outside in the rain. A basic outdoor sealant or exterior wood stain, applied on all sides including the bottom, makes a huge difference in how long these pieces last.
Ignoring weight limits. Pallet wood is strong, but thin single boards aren’t meant to hold a lot of weight on their own. For anything you’ll sit or stand on, double up the boards or add a support beam underneath.
Forgetting to check for stray nails. Even after taking a pallet apart, broken nail tips sometimes stay buried in the wood. I ran a metal detector app on my phone once as a joke, but honestly a simple magnet swept over the wood works fine too.
A Few More Ideas Worth Trying
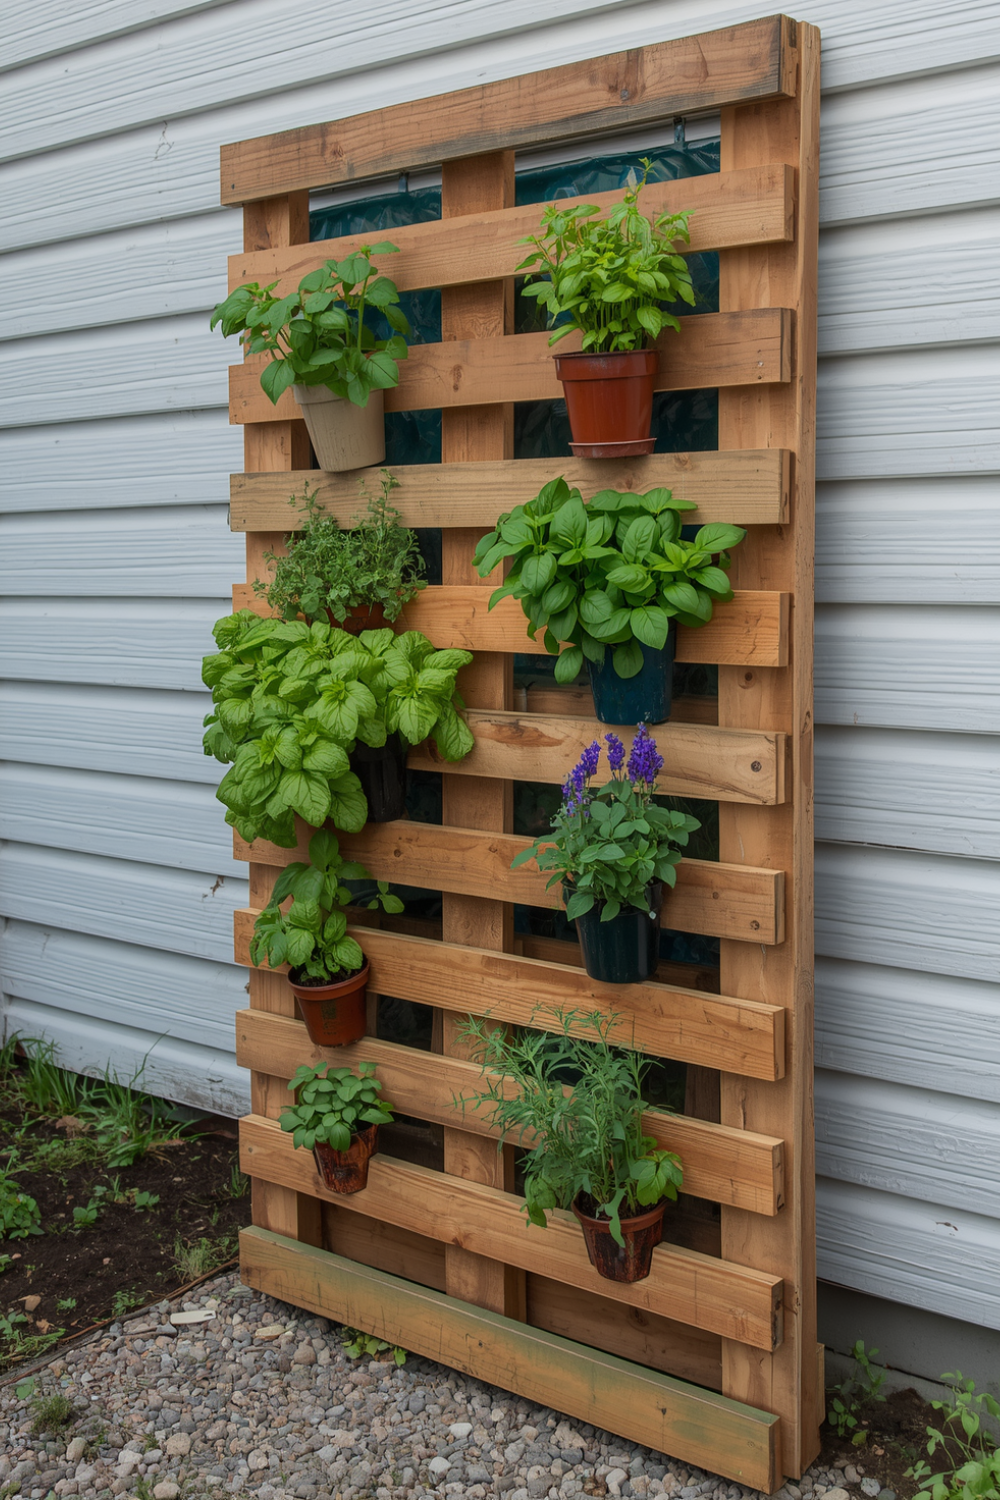
Beyond the couch and coffee table, here are some other projects that don’t require advanced skills:
- A vertical herb garden using a single pallet standing upright, with landscaping fabric stapled to the back to hold soil in place.
- A simple headboard, which is honestly one of the easiest first projects since it doesn’t need to hold weight, just needs to look good mounted on the wall.
- A shoe rack or entryway organizer using the natural slat gaps in the pallet as shelving.
- A dog bed frame with a cushion placed inside the raised pallet base, which keeps pets off cold floors.
Final Thoughts
Pallet furniture isn’t going to look like something out of a fancy catalog on your first try, and that’s honestly fine. My first few pieces were rough, a little uneven, and definitely not Instagram-worthy. But three years later, half of my patio furniture is still pallet wood, and it’s held up through two rainy seasons and one very determined dog who likes chewing on wood corners.
If you’re on a tight budget and don’t mind a weekend project, this is one of the most practical ways I’ve found to fill your space without spending real money on furniture. Check your pallets before you drag them home. Sand more than feels necessary. Don’t rush the assembly. Everything else you’ll figure out as you go, same as I did.