Three years ago, I had a window in my spare room that did absolutely nothing except let in light and collect dust on the sill. Every time I walked past it, I’d think “that would be such a nice spot to sit and read,” and then I’d keep walking because there was a stack of laundry waiting for me somewhere else in the house.
It took me almost a full year to actually turn that dead space into something I use every single day now. And honestly, the process taught me more about what makes a reading nook actually work than any design blog ever did. So instead of giving you the usual “just add cushions and fairy lights” advice, I want to walk you through what I actually learned, including the parts I got wrong.
Why I Even Wanted One in the First Place
I work from home, and by the end of the day my eyes are fried from staring at a screen. I needed a spot that had nothing to do with my desk, my phone, or anything digital. A window nook felt like the obvious answer because natural light plus a good book is basically the opposite of a workday.
But here’s the thing nobody tells you: a reading nook only works if it’s built around how you actually sit and read, not how it looks in a photo. I learned that the hard way.
My First Attempt Was a Disaster (Here’s Why)
My first version of this nook was just a floor cushion shoved under the window with a small side table. It looked cute in photos. In real life, I lasted about fifteen minutes before my back started aching and the sunlight through the glass turned into a glare I couldn’t escape.
Three mistakes, all rookie ones:
- I didn’t think about back support at all.
- I ignored the direction the window faced, so afternoon sun turned the spot into a hotbox.
- I put the side table too far away, so my tea went cold before I could reach it without getting up.
If you’re picturing your own nook right now, keep those three in mind before you buy a single cushion.
Step-by-Step: How I Rebuilt It Properly
1. Check which way your window faces first
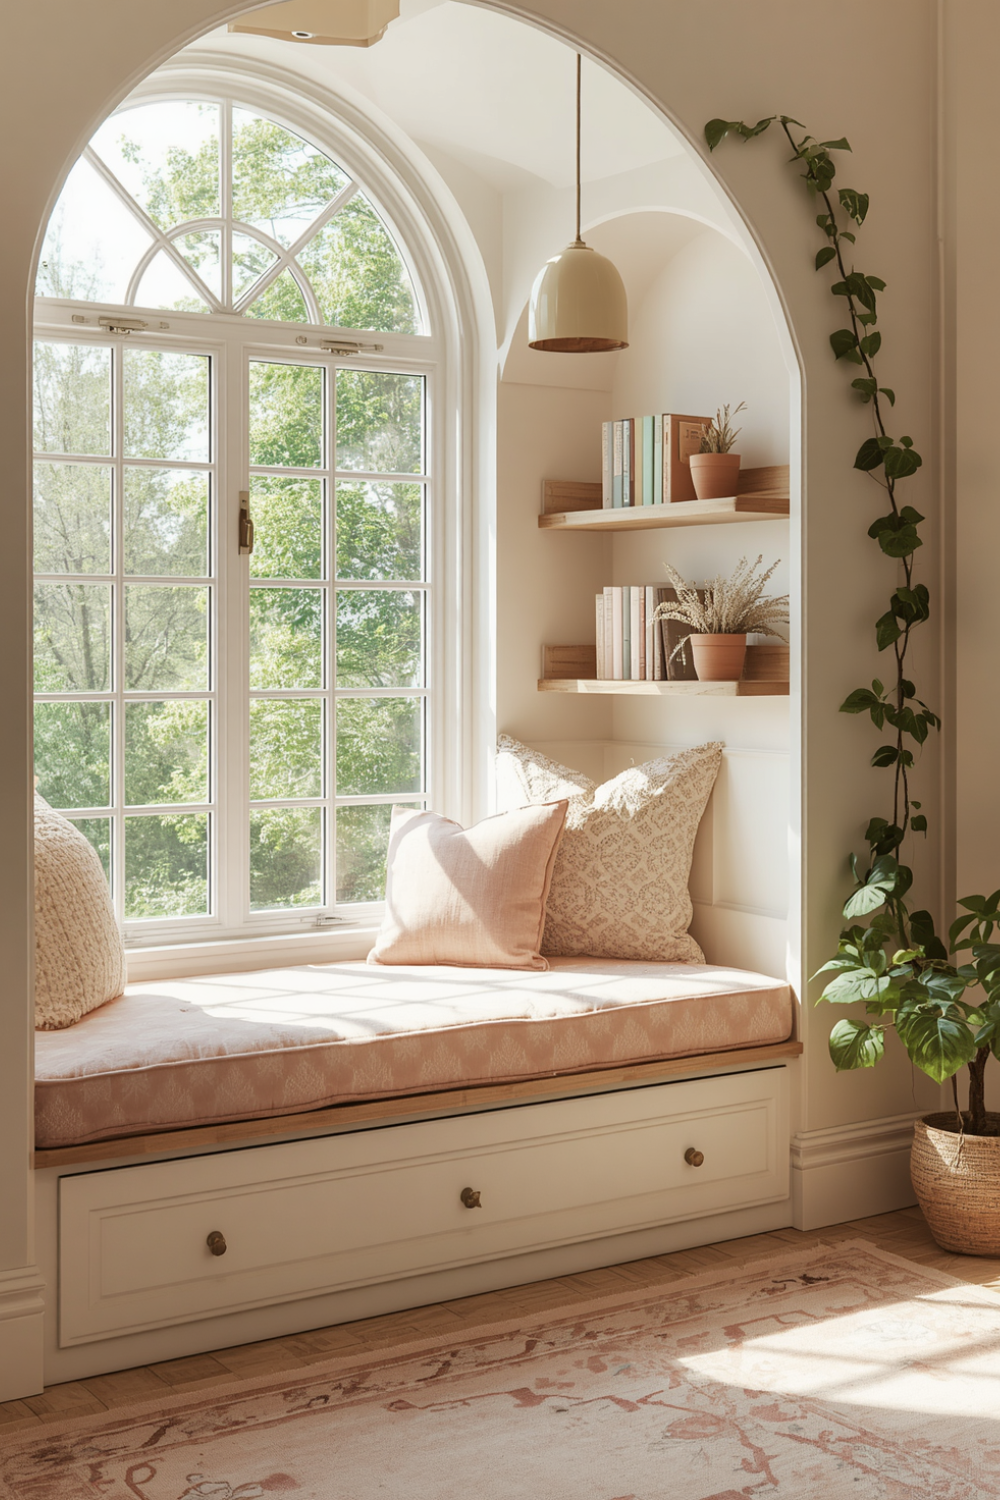
This sounds boring, but it matters more than any cushion choice. South-facing windows (in the US) get the most consistent light and can run hot in the afternoon. North-facing ones stay cooler and softer, which is actually better for reading without a glare. East-facing windows are gorgeous in the morning but can be dim later in the day. I have a north-facing window now, and it’s the single biggest reason this version of the nook actually gets used.
If you’re stuck with strong afternoon sun like I was originally, a simple roller shade or a sheer curtain from somewhere like IKEA solves it without blocking the whole view.
2. Measure before you fall in love with a bench
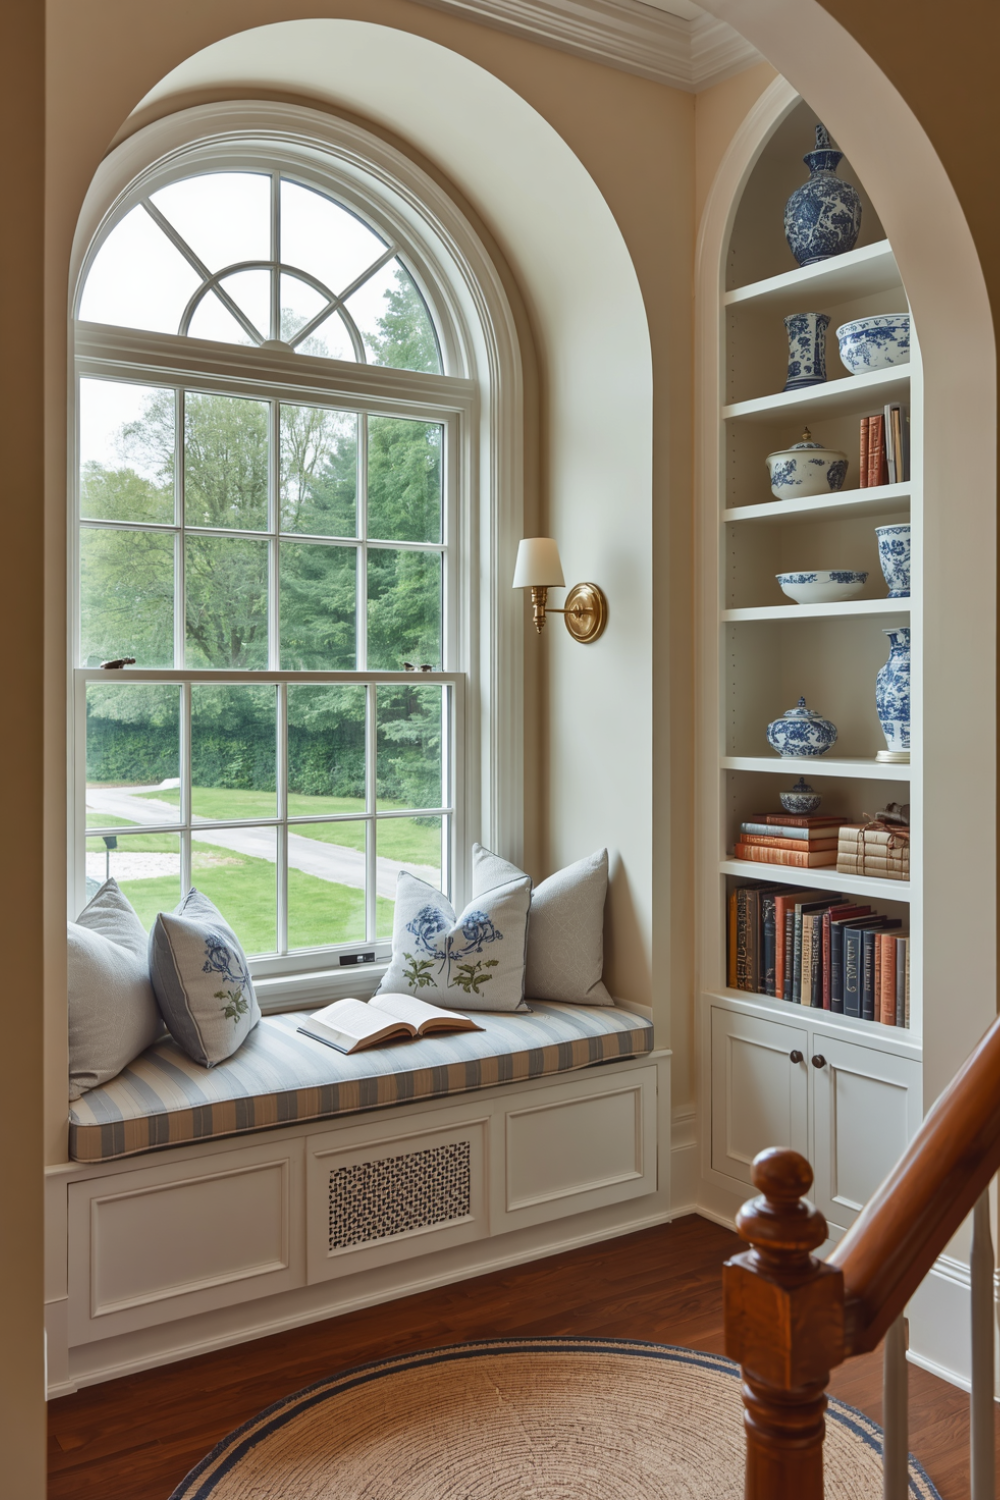
I wanted a built-in bench because Pinterest made it look so dreamy. Turns out my window sill was only 11 inches deep, which is not enough to actually sit on comfortably. I ended up going with a low bench seat placed just in front of the window instead of trying to force a built-in.
Rule of thumb from experience: you want at least 20 inches of seat depth if you plan to sit cross-legged, and closer to 30 if you want to stretch your legs out.
3. Get the seating right (this is where most people go wrong)
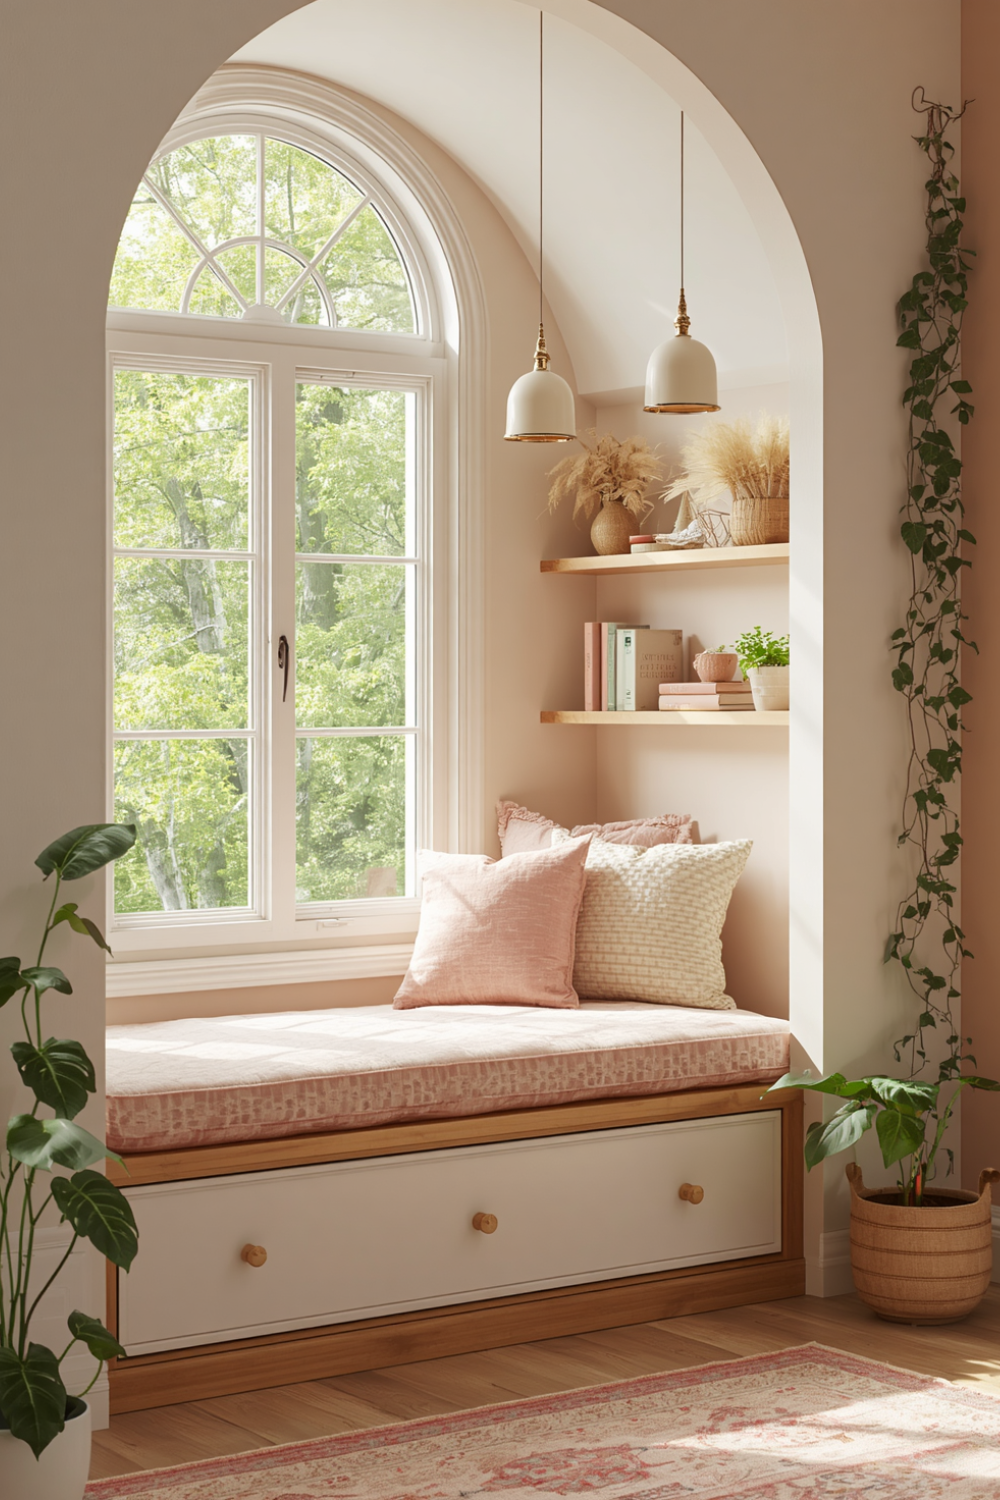
I switched from the floor cushion to an actual small bench with a supportive cushion, plus a wedge pillow for my lower back. That one change fixed the fifteen-minute limit completely. I can sit for a couple hours now without needing to shift every five minutes.
If a bench isn’t in the budget or the space, even a papasan chair or a deep armchair angled toward the window works. The key is back support, not just “something soft.”
4. Lighting for when the sun goes down
Natural light is great during the day, but I read a lot in the evening too. I added a small clip-on reading lamp from Amazon (the kind that clamps onto a shelf) instead of relying on an overhead light, which felt too harsh for a cozy corner. Warm white bulbs, not the cool blue ones, make a huge difference in how relaxing the spot feels.
5. Keep everything you need within arm’s reach
This is the part I underestimated the first time. Now I have a small floating shelf right next to the bench with:
- A coaster for my drink
- A little basket for whatever book I’m currently reading plus one backup
- A soft throw blanket for colder months
- My glasses case, because I always lose them otherwise
Nothing fancy, just functional. The whole point is that once you sit down, you don’t have to get back up.
6. Add layers, not just one cushion
One mistake I see a lot in other people’s nooks (and made myself) is treating the cushion as the whole design. Layering actually makes it feel finished: a base cushion, a smaller accent pillow, and a throw blanket draped over the side. It doesn’t need to be more complicated than that.
Real Example: What Mine Looks Like Now
Right now my nook is a low upholstered bench under a north-facing window, with a tan cushion, one navy accent pillow, a wedge pillow for back support, a small brass clip lamp, and a floating oak shelf beside it holding two books and a mug. Total cost was under $150 because I already had the shelf and reused a cushion cover I liked. It’s not fancy, but it’s the most-used corner in my house now.
Common Mistakes to Avoid
Ignoring window drafts. Older windows especially can let in cold air in winter. I didn’t notice this until my first January in the nook, when I realized I was reading in a light jacket. A draft stopper along the sill fixed it.
Choosing style over comfort. A gorgeous velvet cushion that’s too firm will get abandoned within a week. Sit on anything before you commit to it if you can.
Making it too small to actually use. If there’s only room for your body and nothing else, you’ll end up balancing your coffee on the floor. Even a tiny 6-inch shelf changes everything.
Forgetting privacy. If your window faces a street or a neighbour’s yard, you might feel exposed once you’re sitting there for a while. A sheer curtain solves this without cutting off the light.
Overdoing the decor. I got carried away buying decorative pillows I never actually used because they weren’t comfortable to lean against. Function first, decoration second.
A Few Honest Thoughts on Cost
You genuinely don’t need a custom-built bench to make this work. My version started as a $40 bench from a secondhand shop plus cushions I already owned. If you want to go further, a simple DIY option is stacking two low IKEA storage cubes and topping them with a cushion, which also gives you hidden storage underneath for extra blankets or books.
Final Thoughts
What actually made the difference for me wasn’t a single product or a Pinterest-perfect layout. It was paying attention to how I actually use the space, not how it photographs. The light direction, the seat depth, and having my stuff within reach mattered way more than any fairy lights or decorative pillow ever did.
If you’ve got a window that’s just sitting there doing nothing, it’s worth the weekend project. Just don’t skip the boring parts, like checking which direction it faces, before you buy the pretty stuff.