That bouquet on your kitchen counter is dying. Not eventually — right now, petal by petal, while you’re reading this sentence.
Sad thought, right? But here’s the good news: learning how to preserve flowers means you don’t have to watch it go. Whether it’s the roses from your wedding day, a bunch your kid picked from the backyard, or the arrangement that showed up at a funeral you’ll never forget, there’s a way to hold onto it. Not just in a photo — the actual flower.
I’ve killed my fair share of preservation attempts (RIP to a bouquet I microwaved into a sad, brown clump). So consider this your cheat sheet — the methods that actually work, explained the way I wish someone had explained them to me the first time.
Why Bother Preserving Flowers Anyway?
Flowers are emotional objects. Nobody keeps a bouquet because it’s pretty — they keep it because of who gave it to them, or what it was for.
A preserved flower turns a fleeting moment into something you can actually hold onto — years later, tucked in a drawer or hanging on a wall.
Common reasons people preserve flowers:
- Wedding or anniversary bouquets
- Funeral or memorial flowers
- A first date’s flowers (yes, people do this)
- Flowers from a new baby’s birth
- Just because a bunch from the garden looked too good to toss
Whatever your reason, the method you pick depends on how you want the end result to look — and how much patience you have.
How to Preserve Flowers at Home: The Main Methods
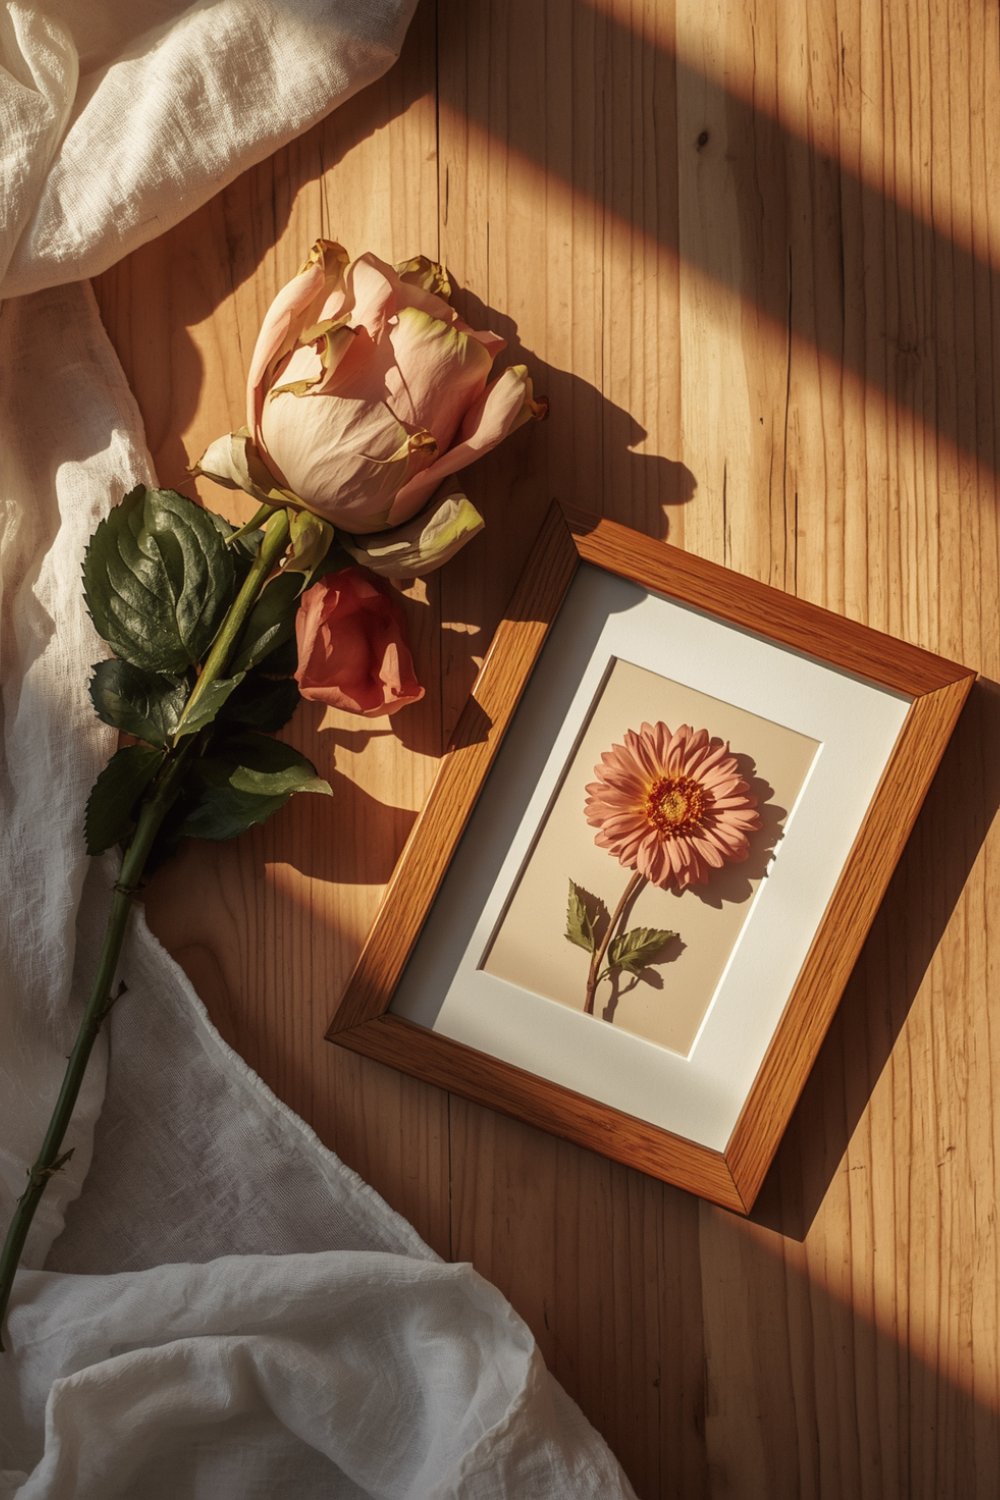
Let’s go through the most popular techniques, starting with the easiest and working up to the ones that take a bit more effort (and equipment).
1. Air Drying — The Classic, No-Fuss Method
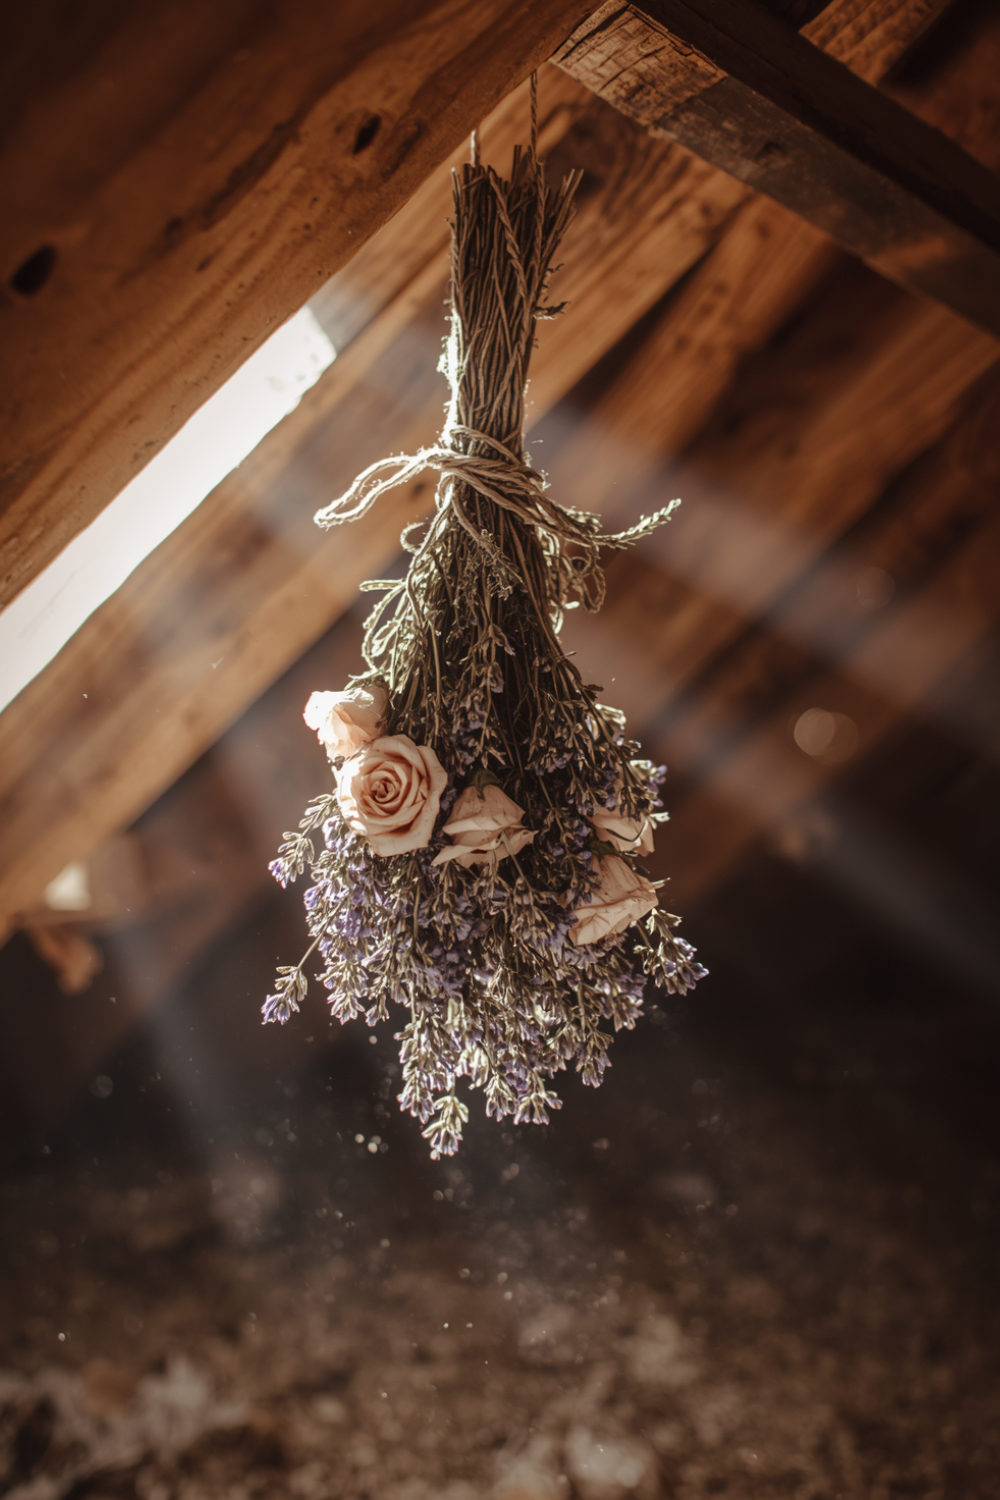
This is how your grandma probably did it, and honestly, it still works great.
How to do it:
- Strip off the lower leaves so nothing rots.
- Bundle 4-6 stems together with a rubber band (it tightens as stems shrink, string doesn’t).
- Hang the bundle upside down in a dark, dry, well-ventilated spot — a closet works fine.
- Wait 2-3 weeks.
That’s basically it. Roses, lavender, baby’s breath, and statice all air dry beautifully. Hydrangeas and tulips? Not so much — they tend to go crispy and fall apart. According to University of Missouri Extension’s guide on drying flowers, the faster a flower dries, the better it holds onto its color — so a warm, dry, well-ventilated spot really does make a difference.
Best for: People who want how to preserve dried flowers without buying a single extra tool.
2. How to Press and Preserve Flowers
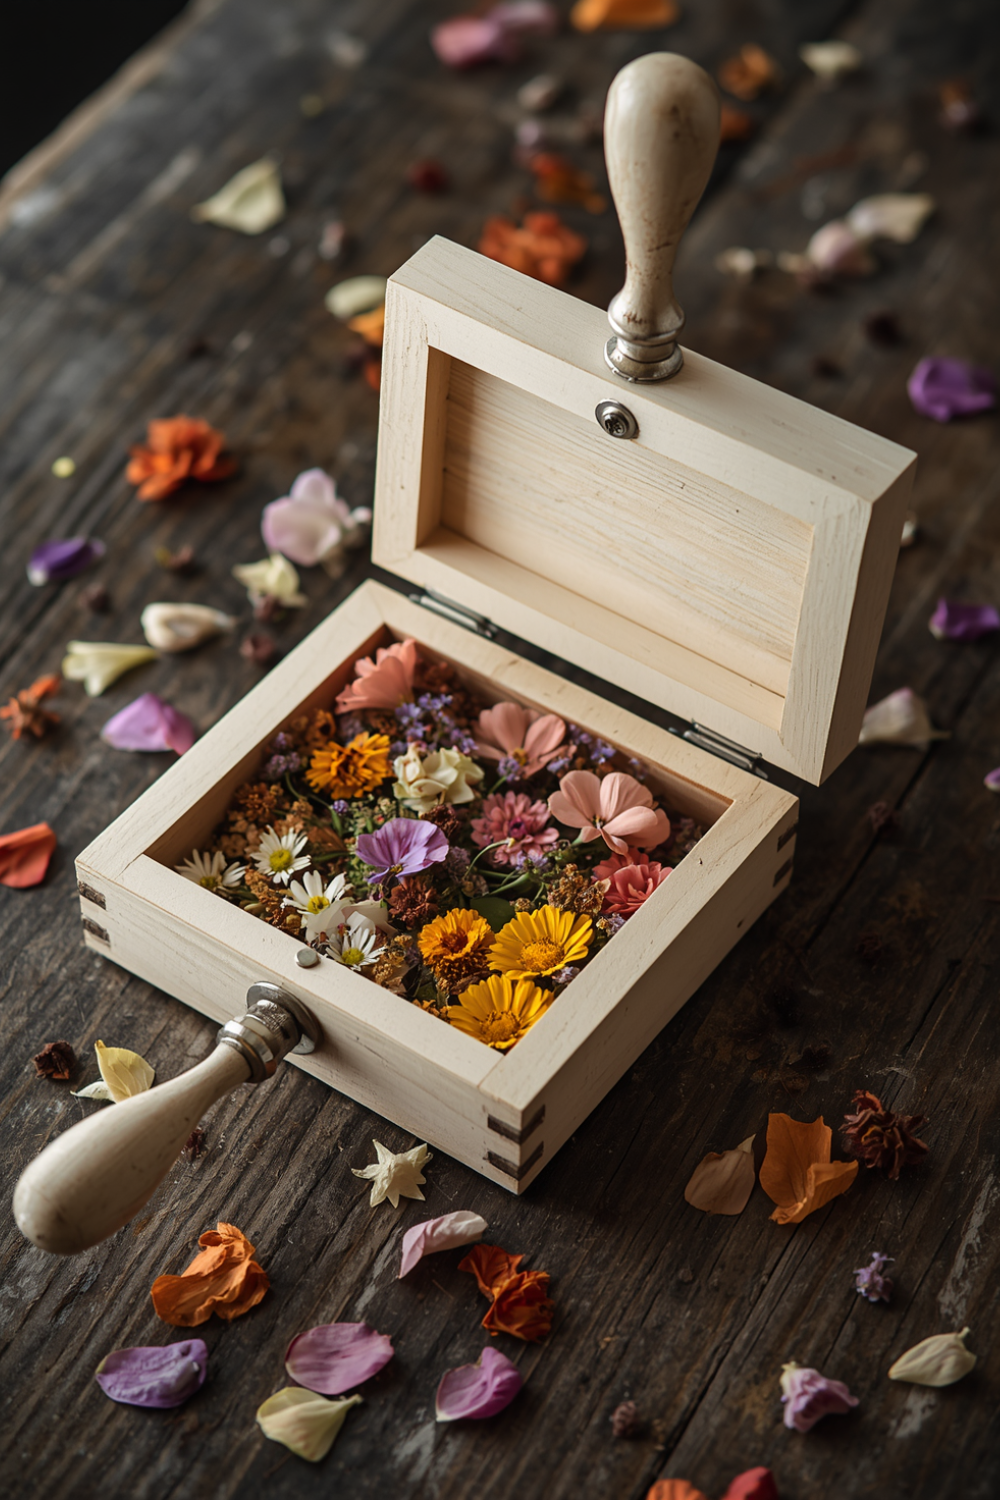
Pressing is the OG way to flatten a flower and keep its color and shape for scrapbooks, art, or resin projects later.
Two easy ways to press flowers:
- The book method: Place flowers between two sheets of parchment paper, tuck them into a heavy book, and stack more books on top. Give it 1-2 weeks.
- A flower press: If you’re pressing often, an actual wooden flower press with screws speeds things up and gives more even pressure.
Quick tip that took me way too long to figure out: pick flowers that are already fairly flat — pansies, violets, ferns — since bulky flowers like roses tend to press unevenly and bruise in the middle.
Best for: How to preserve pressed flowers for framing, journaling, or card-making later.
3. How to Preserve Flowers in a Book
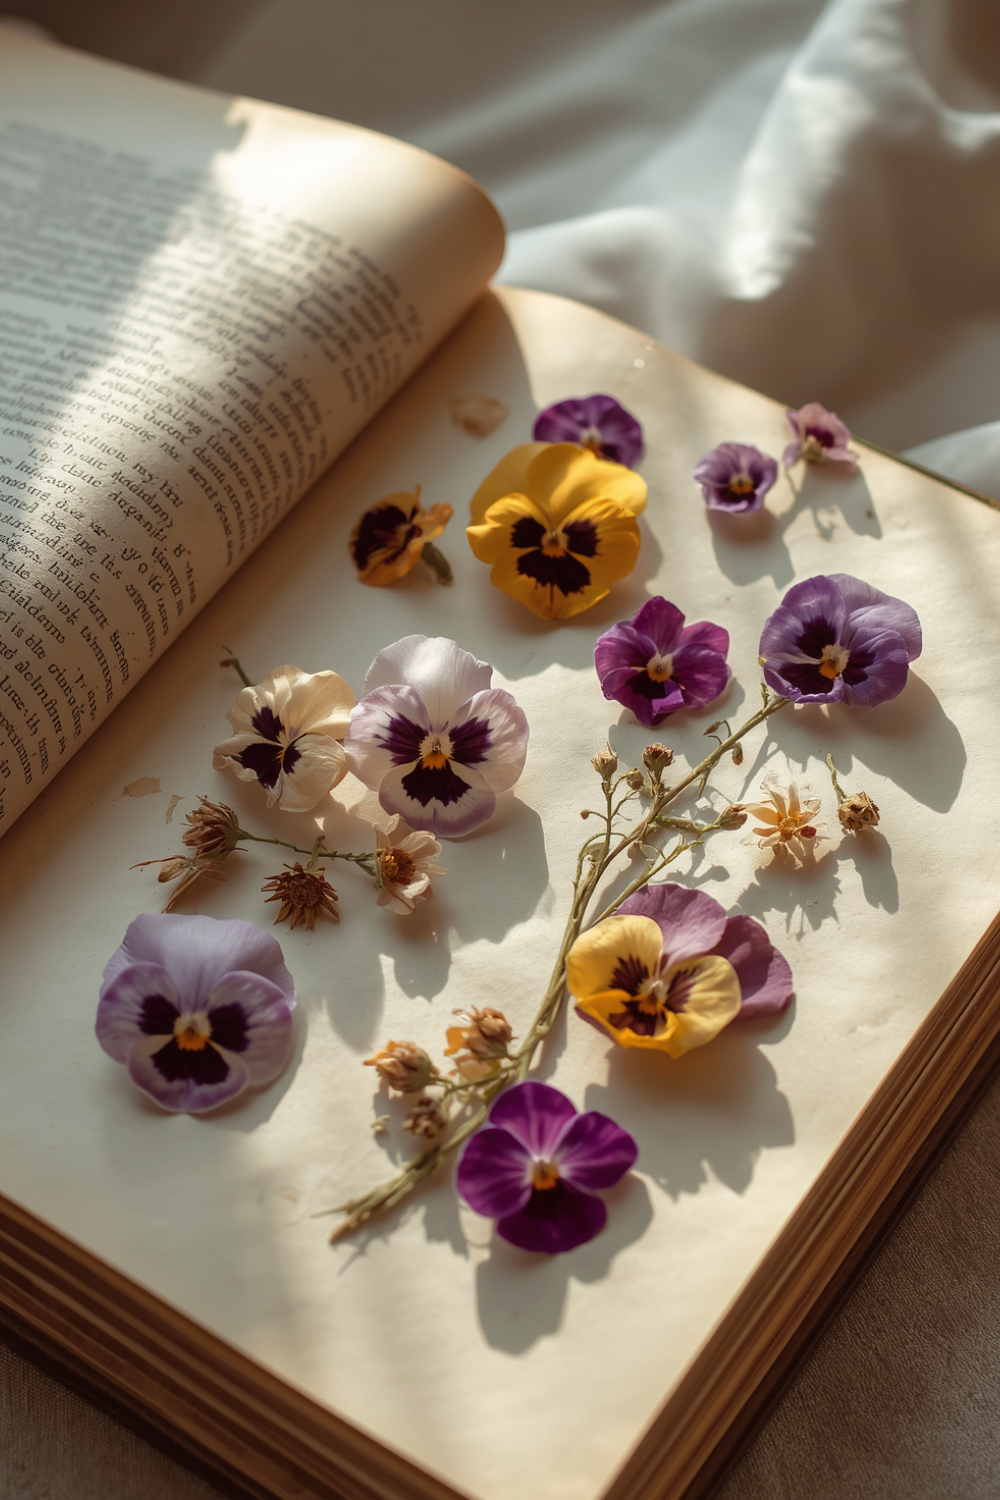
Don’t have a flower press? Your bookshelf is basically a free one.
Grab a thick book (phone books and old text books are perfect since nobody minds if the pages warp a little), place your flower between two paper towels or coffee filters to absorb moisture, and close the book. Stack a few more heavy books on top for extra weight.
Leave it alone for 2-3 weeks — and resist the urge to peek every day. I know it’s tempting, but opening the book too often lets moisture back in and slows the whole process down.
4. How to Preserve Flowers in Resin
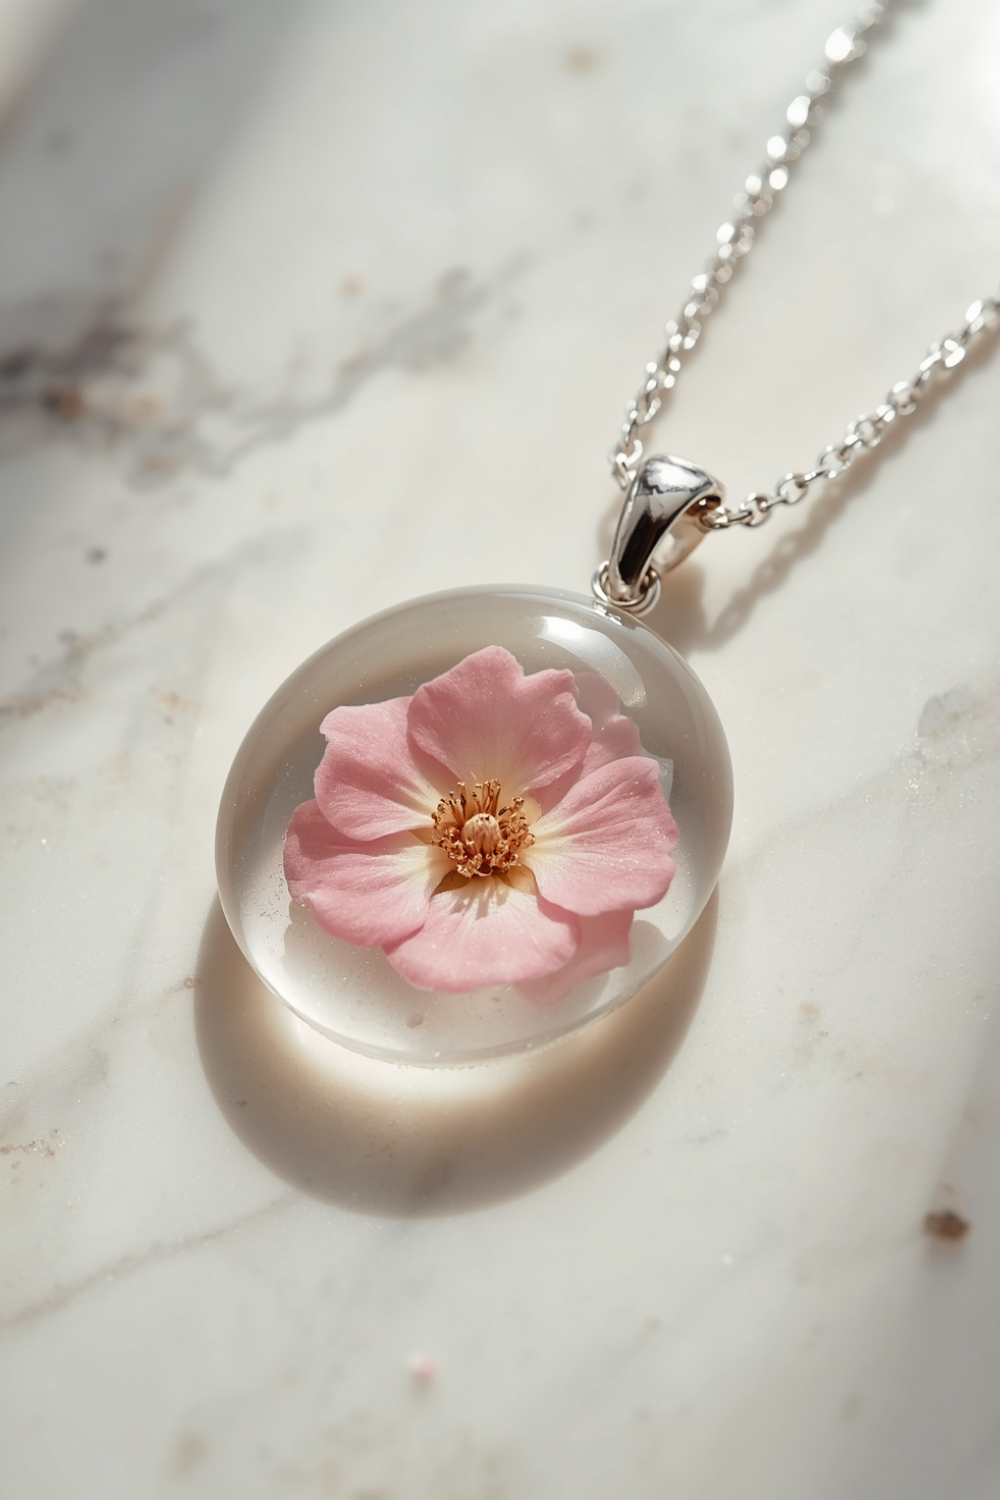
This is the method that turns a flower into a permanent little piece of jewelry, a keychain, or a paperweight. It looks impressive, but it’s more beginner-friendly than people assume.
What you’ll need:
- Clear casting resin and hardener
- A silicone mold
- Fully dried or pressed flowers (fresh ones will rot inside resin — trust me, you don’t want that)
- A toothpick for positioning
Steps:
- Mix resin and hardener per the package instructions.
- Pour a thin base layer into the mold and let it partially set (about 30 minutes).
- Place your pressed flower on top.
- Pour a second layer of resin to fully cover it.
- Let it cure for 24-48 hours.
The one rule you can’t skip: your flowers must be completely dry before they go in. Any leftover moisture gets trapped and turns cloudy — or worse, moldy.
Best for: How to preserve wedding flowers or funeral flowers into something wearable, like a necklace pendant.
5. How to Preserve Flowers in a Frame
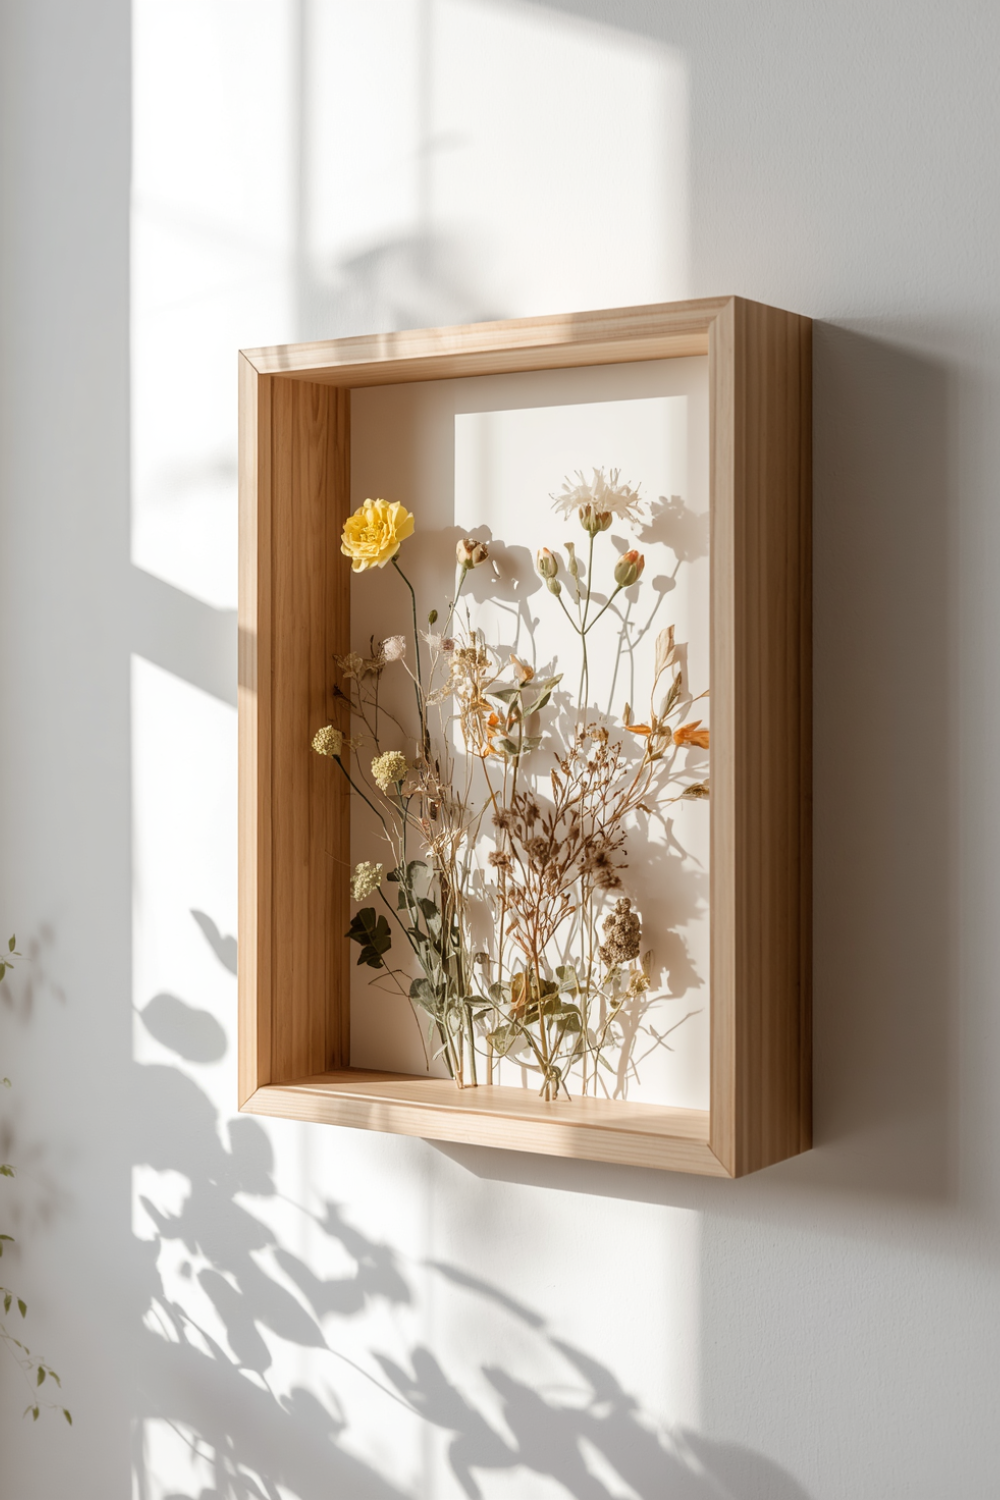
If you want something to hang on the wall rather than sit in a drawer, framing pressed flowers is one of the most satisfying weekend projects out there.
How to do it:
- Press your flowers using the book or flower-press method first.
- Arrange them on cardstock or fabric backing in whatever layout you like — symmetrical, wild, whatever feels right.
- Use a tiny dab of craft glue to secure each piece.
- Place it in a shadow box or a deep frame with a spacer, so the glass doesn’t crush the petals.
A shadow box specifically is worth the extra few dollars if your flowers still have some bulk to them — it gives them breathing room instead of squishing everything flat against the glass.
Best for: How to preserve flowers in a shadow box for wedding bouquets, since it lets you keep some 3D shape instead of flattening everything.
6. Silica Gel — For Keeping the 3D Shape
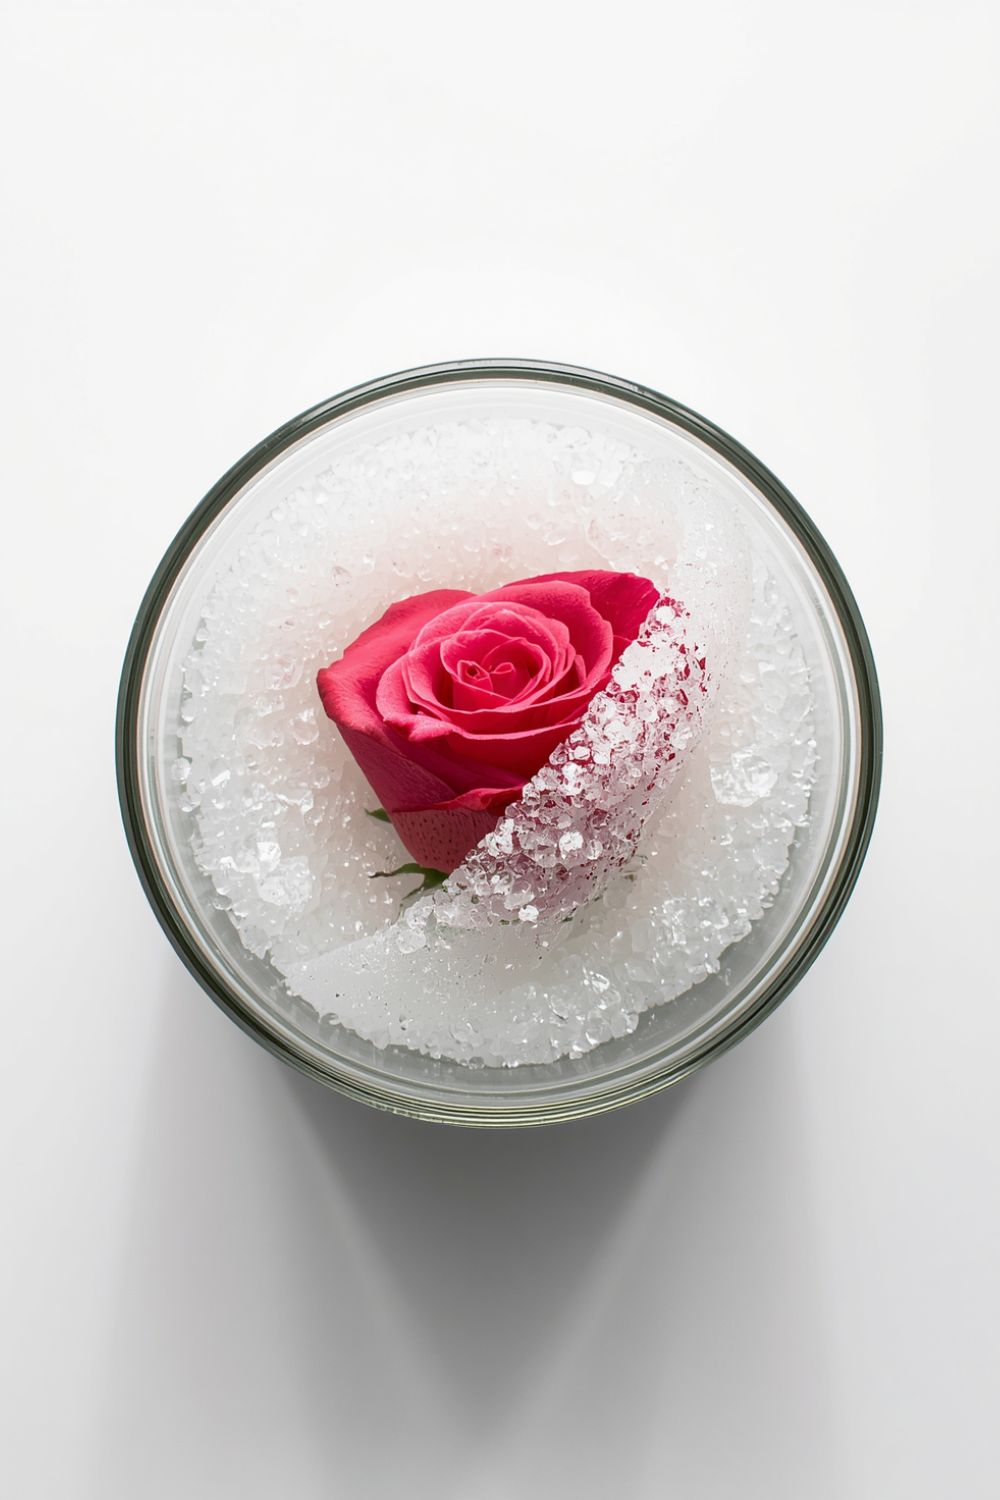
If pressing feels too flat (literally) for what you want, silica gel dries flowers while keeping their natural shape and most of their color.
How to do it:
- Pour an inch of silica gel into an airtight container.
- Set your flower face-up on top.
- Gently pour more silica gel over and around the petals until fully covered.
- Seal the container and wait 3-7 days depending on the flower’s size.
This is genuinely one of the best answers to how to preserve flowers forever if you want them to still look like actual flowers rather than flat paper cutouts. University of Florida’s IFAS Extension even notes that once dried this way, flowers can last almost indefinitely with barely any upkeep — just an occasional gentle dusting.
7. How to Preserve Flowers in a Jar
This one’s less about the flower staying “fresh-looking” forever and more about display. Dried or pressed flowers placed in a glass jar — sometimes layered with dried moss, sand, or even filled with glycerin — make a rustic little keepsake.
Simply dry your flowers first using any method above, then arrange them in a clean, dry jar. Seal it tightly to keep moisture and dust out. Some people add a few drops of essential oil-soaked cotton inside for a light, lasting scent — a nice touch for funeral flower keepsakes especially.
8. Glycerin Preservation — For Fresh Flowers That Stay Soft
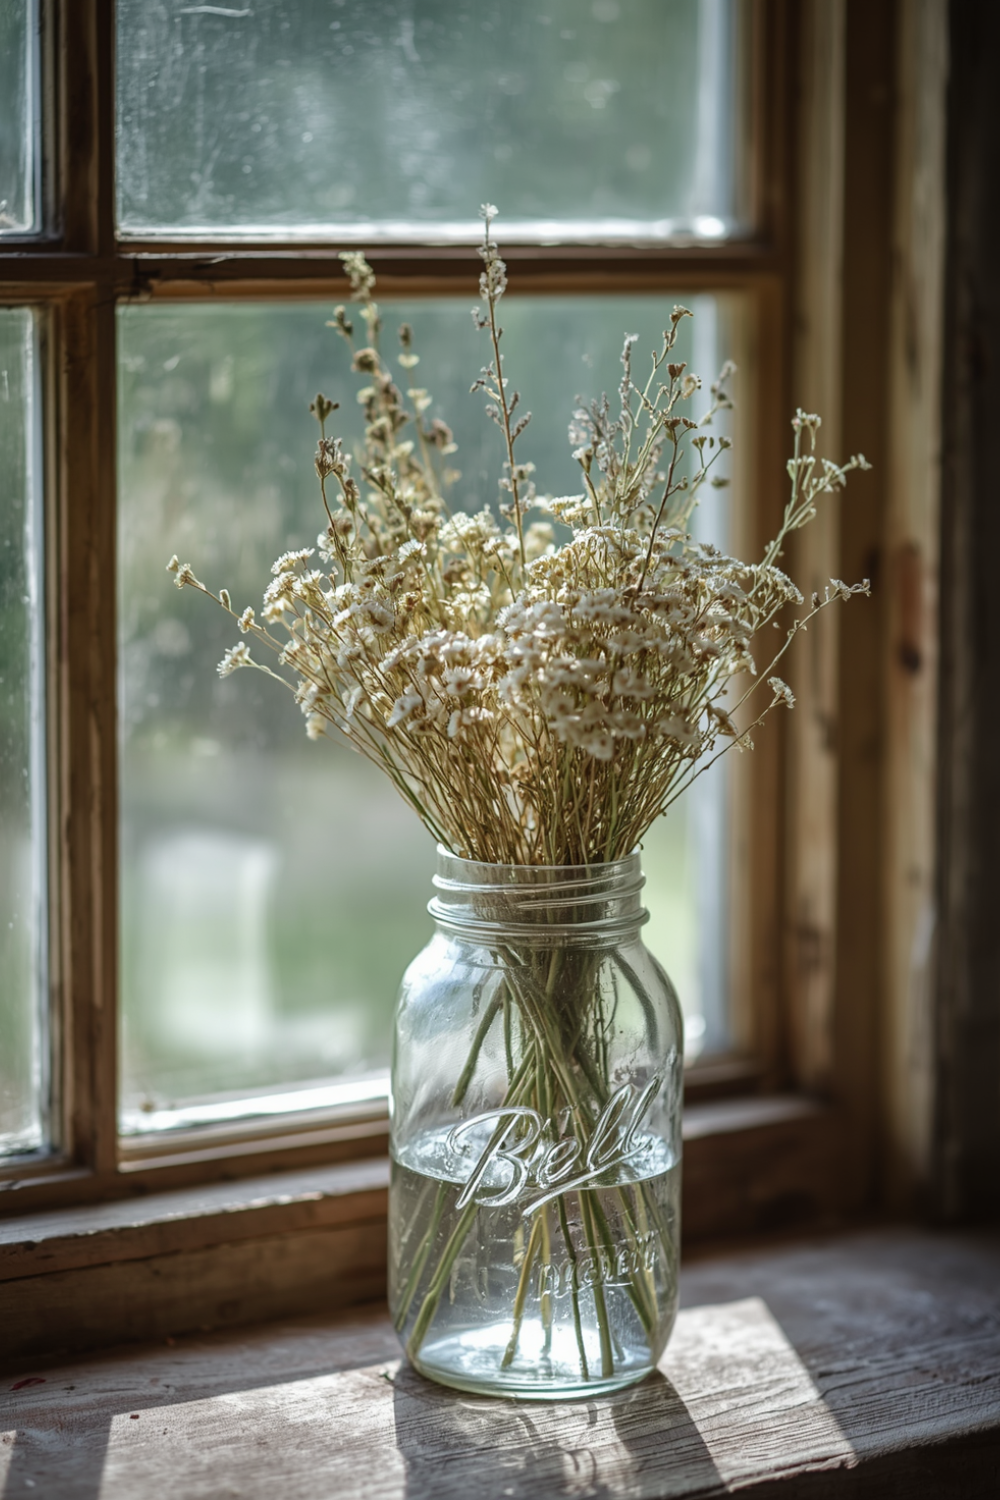
Most preservation methods dry flowers out, but glycerin does the opposite — it keeps petals soft, pliable, and surprisingly lifelike for years. This is genuinely the closest thing to how to preserve fresh flowers permanently without them going stiff or brittle.
How to do it:
- Mix one part glycerin with two parts warm water.
- Trim stems at an angle and smash the bottom slightly so they absorb the mixture well.
- Stand the stems in the solution for 2-6 weeks, topping up as needed.
- Flowers are done once the petals feel slightly waxy and leathery.
Eucalyptus, ferns, and beech leaves take to glycerin especially well.
9. What About the Microwave Method?
I get why people ask about how to preserve flowers in microwave — it’s fast, and who doesn’t love a shortcut? It actually does work, using silica gel and short microwave bursts to dry flowers in minutes instead of days.
Here’s the catch, though: it’s finicky. Too long and your flowers scorch; too short and they don’t fully dry. If you’re going to try it, use 30-second bursts on low power, checking constantly, and only attempt it with sturdy flowers like roses or marigolds — delicate petals like pansies won’t survive the heat.
How to Preserve Wedding Flowers (Without the Stress)
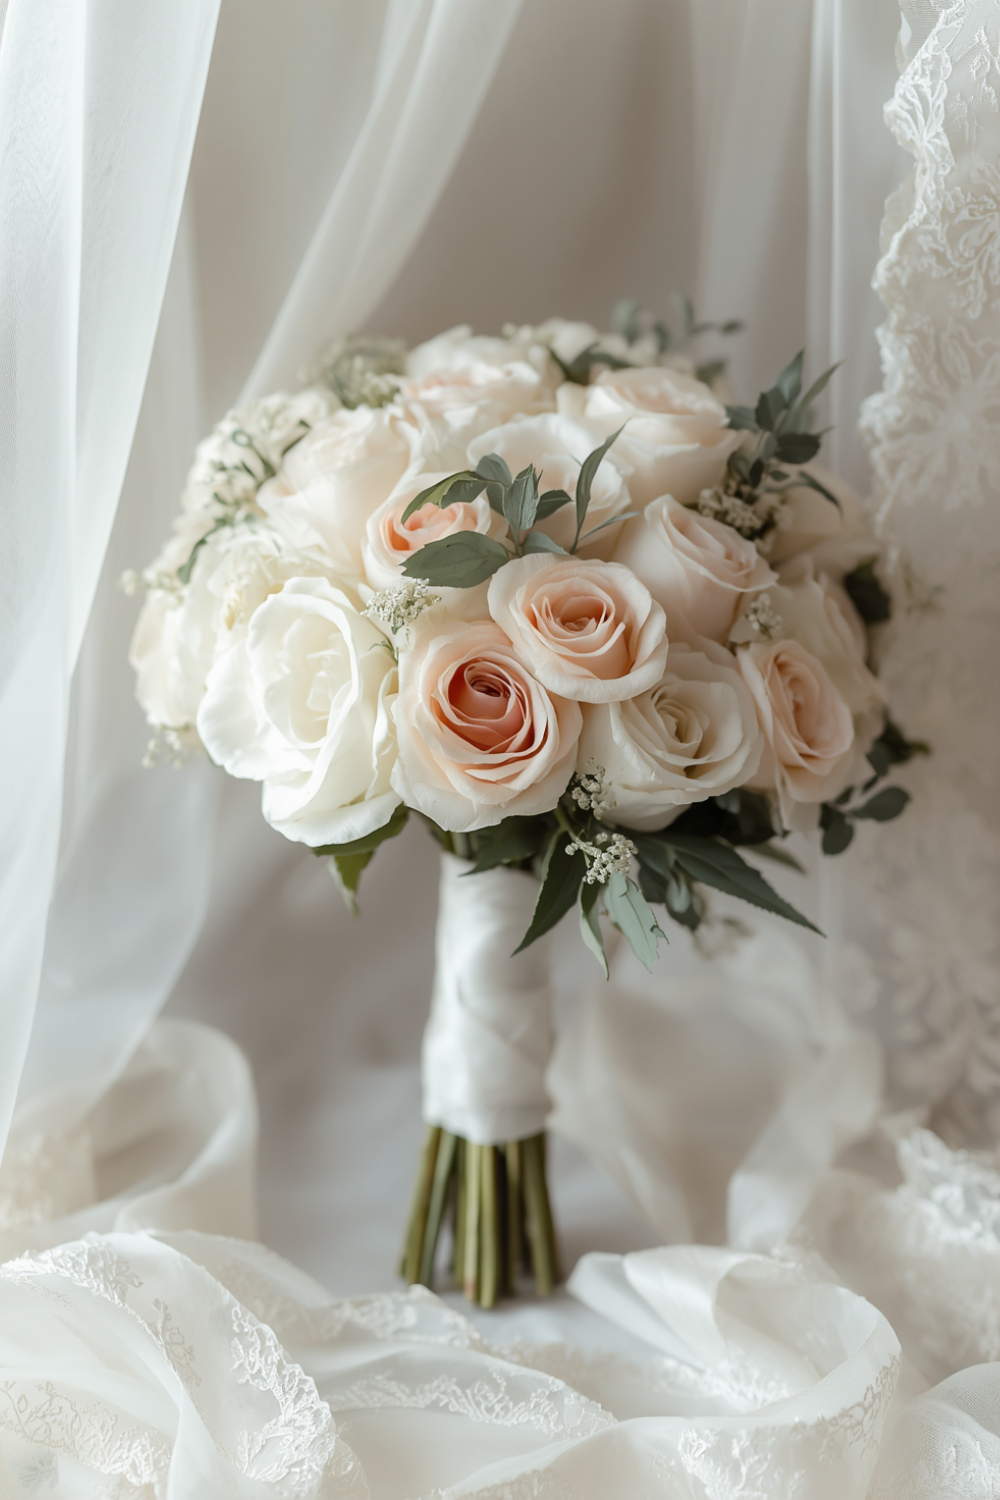
Your wedding bouquet deserves better than wilting on a hotel nightstand while you’re off on your honeymoon. Here’s the honest timeline:
- Start within 24-48 hours of the wedding — the fresher the flowers, the better the results.
- Pressing or drying works well for a simpler, flat keepsake.
- Silica gel is the go-to for brides who want to keep the bouquet’s full shape.
- Professional preservation services exist too, if you’d rather hand off the whole bouquet and let someone else deal with it — worth it if you’re too exhausted post-wedding to start a craft project.
How to Preserve Funeral Flowers as a Keepsake
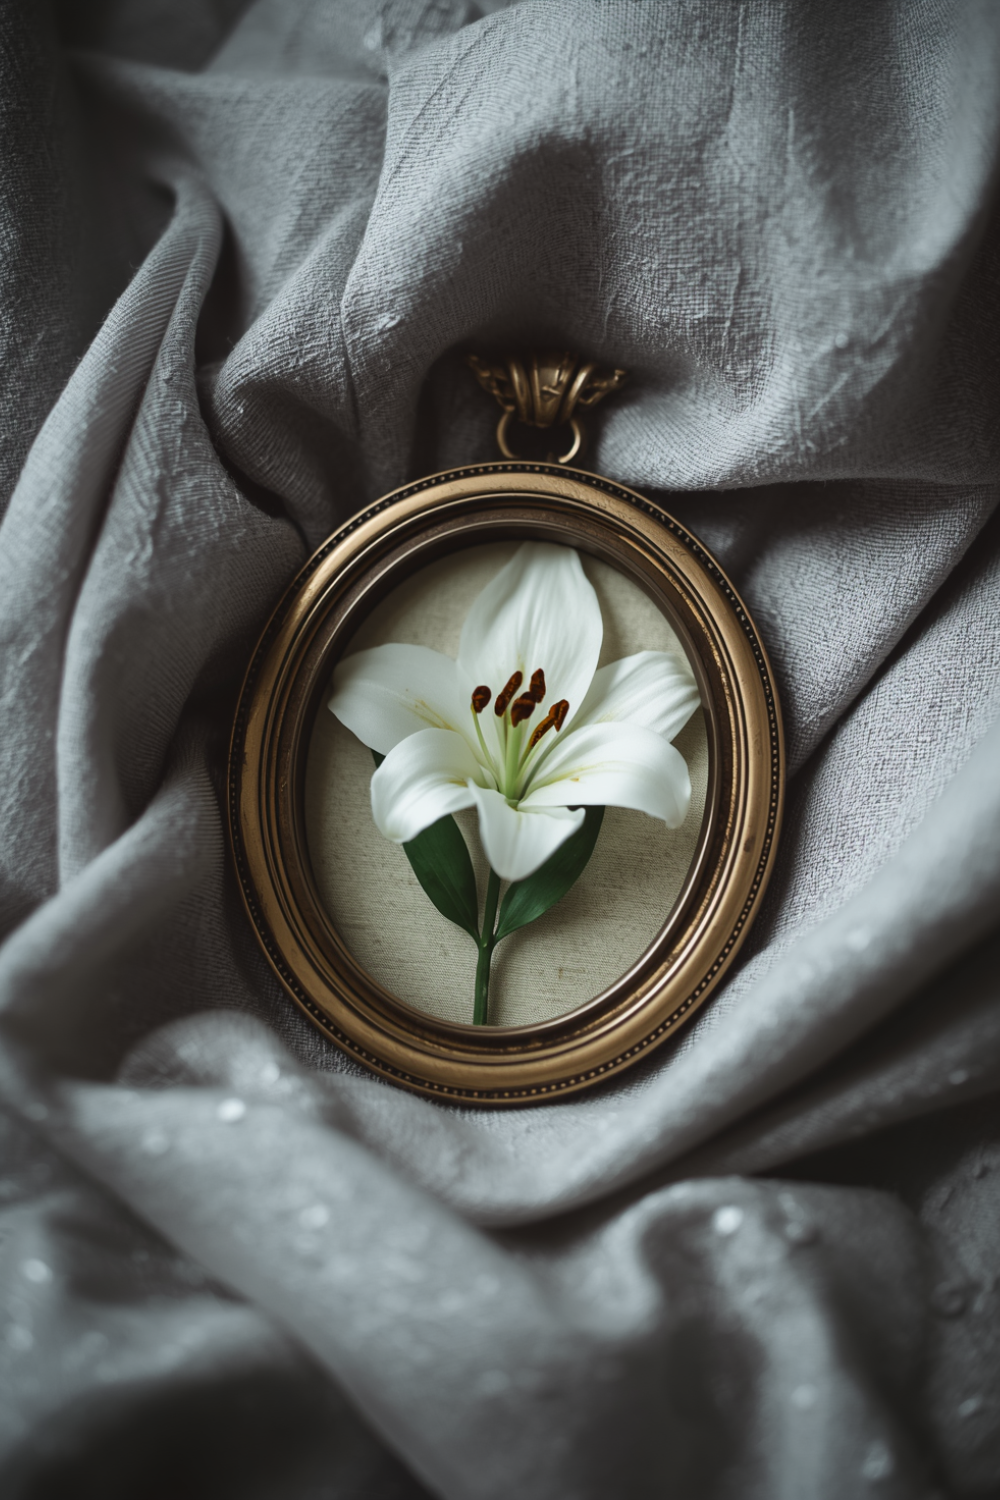
Preserving funeral flowers isn’t about crafting — it’s about holding onto something tangible during a hard time. There’s no rush here, and there’s no wrong way to do it either.
Pressing is usually the gentlest option emotionally — it’s quiet, simple, and doesn’t require much equipment when you might not have the energy for anything complicated. A single pressed flower tucked into a locket or a frame can mean more than an entire preserved arrangement.
How to Preserve Dead Flowers (Yes, It’s Still Possible)
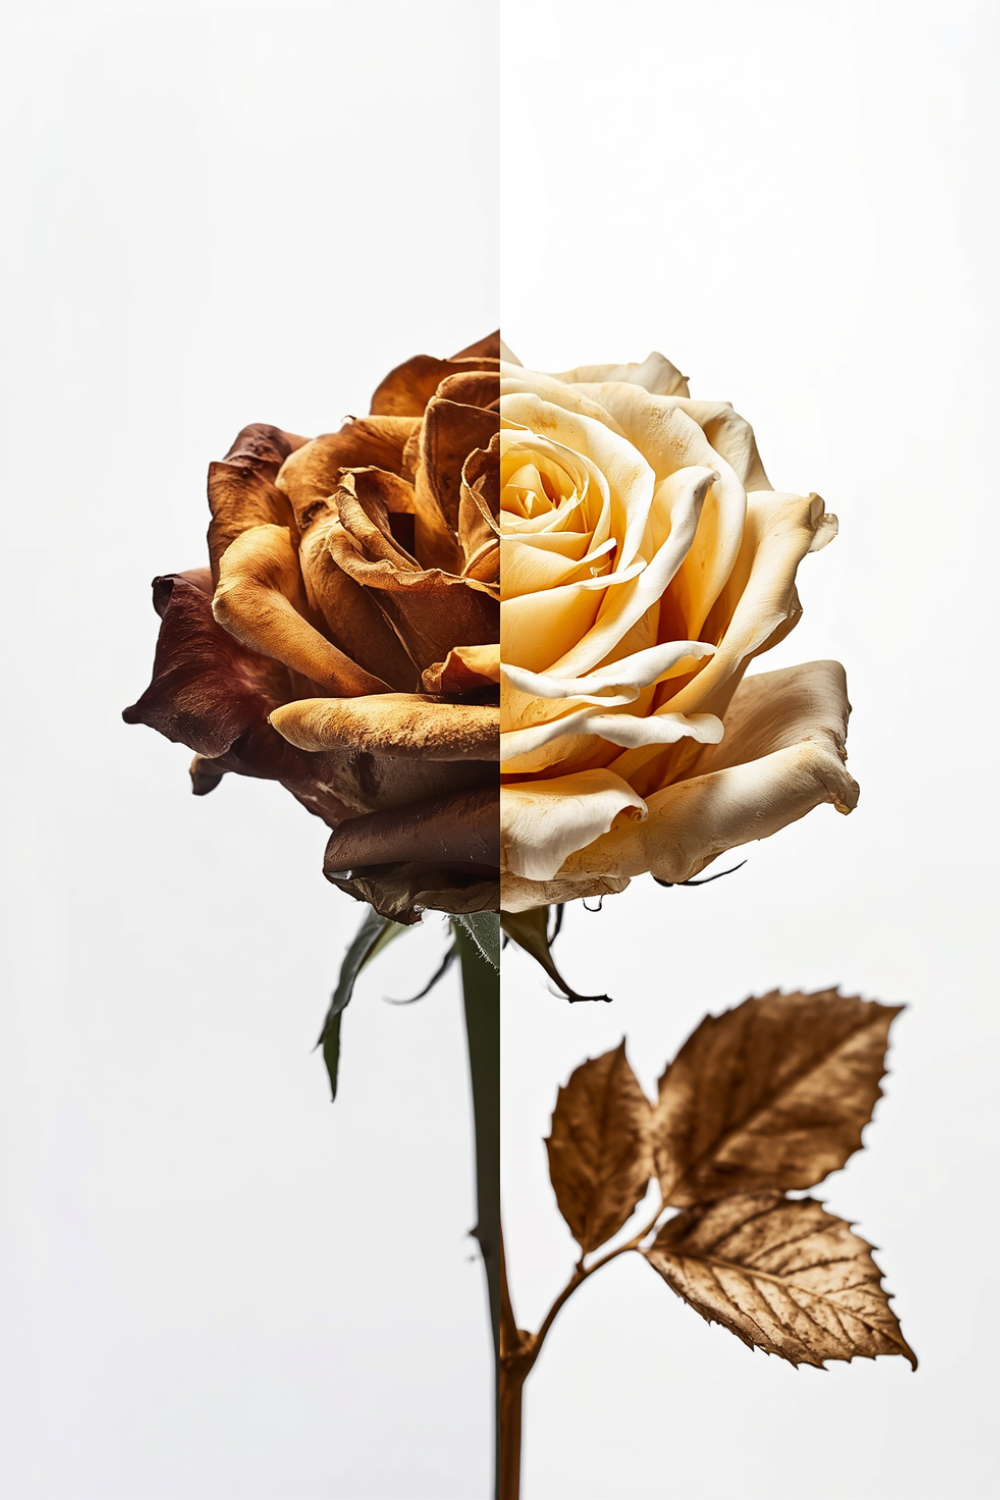
Already let your flowers go too far and they’re drooping or browning? Don’t toss them just yet.
- If they’re mostly dry already, just finish the job — hang them upside down for a few more days.
- If they’re wilted but not crispy, silica gel can often revive their shape better than air drying at this stage.
- If petals are falling off, collect them anyway — pressed loose petals still work beautifully in resin or scattered inside a jar.
Final Thoughts: Don’t Let the Bouquet Just Die in the Trash
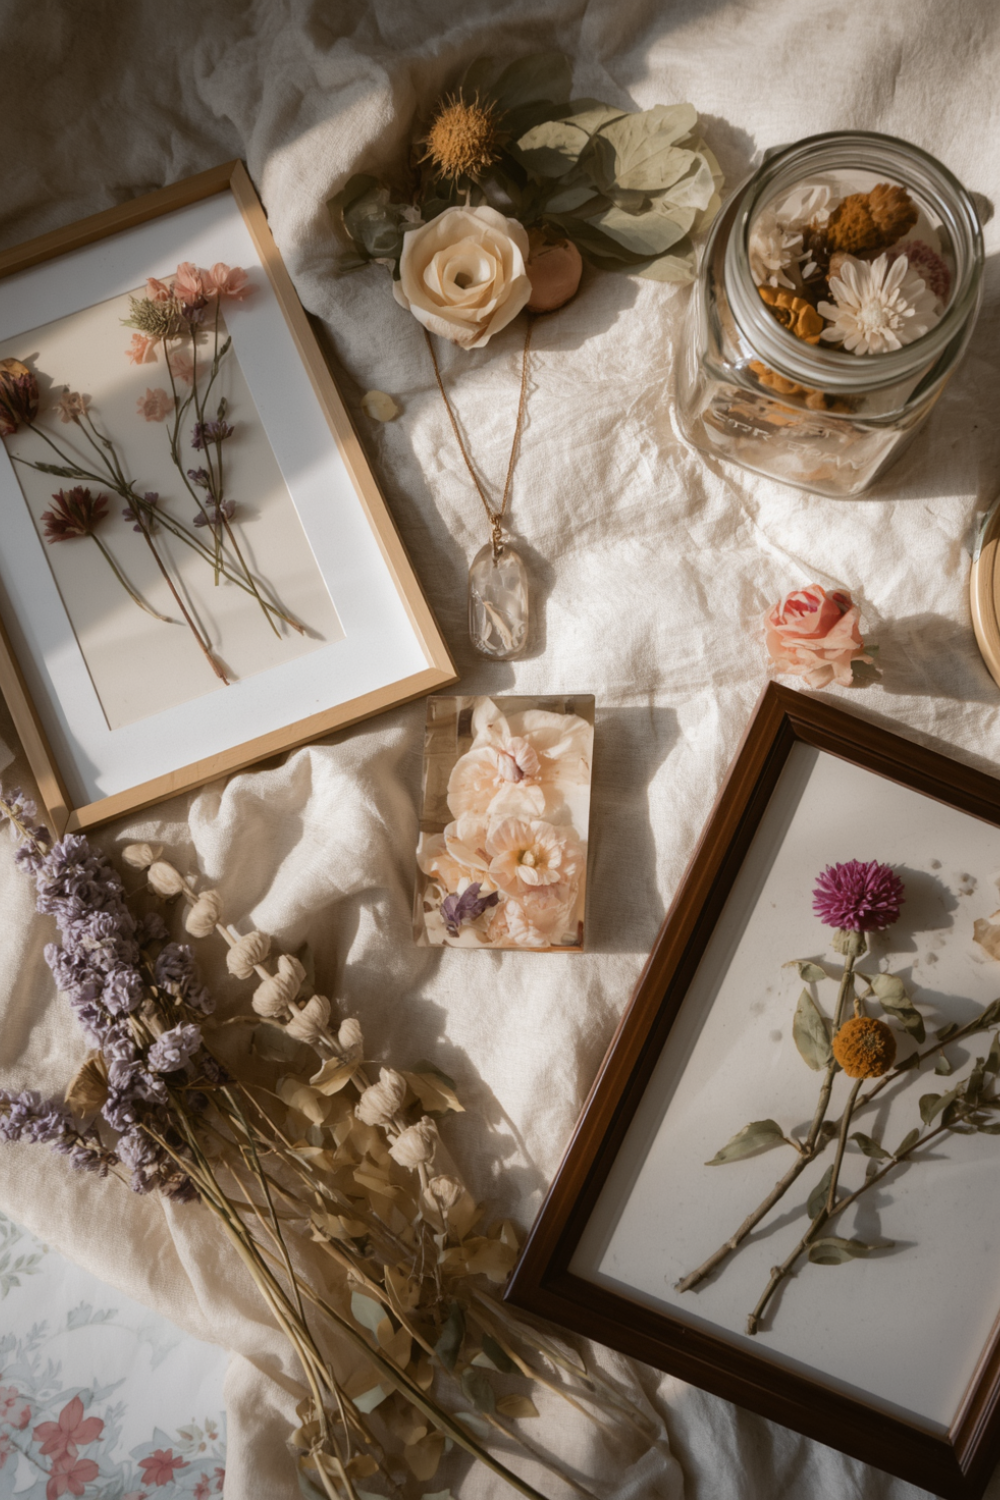
Here’s the thing about preserving flowers — it’s not really about the flower. It’s about not letting a moment disappear the second the petals start to droop.
You don’t need fancy equipment or a crafting background to do this well. A book on your shelf, a jar in your cupboard, or a bag of silica gel from the craft store is honestly enough to get started.
So next time you’re staring at a bouquet that’s on its way out, don’t just watch it wilt. Pick a method from this list, set aside twenty minutes, and give it a second life.
Got a bouquet sitting in water right now? Pick one method above and start today — tomorrow, those petals will be a little less perfect than they are right now.
Frequently Asked Questions
What is the best way to preserve flowers so they last the longest? Silica gel drying tends to give the best long-term results because it keeps both shape and color intact for years. Pressing lasts just as long but flattens the flower completely, so it depends on whether you want a 3D or flat keepsake.
Can you preserve flowers without any special supplies? Absolutely — air drying and the book-pressing method use things you already have at home, like rubber bands and heavy books. You really don’t need silica gel or resin to get a nice-looking result.
How long do preserved flowers actually last? Pressed and resin-preserved flowers can last decades if kept out of direct sunlight and moisture. Air-dried flowers are a bit more fragile and typically hold up well for several years before they get brittle.
Do preserved flowers keep their color? It depends on the method and the flower. Silica gel preserves color best, air drying tends to mute colors slightly, and pressing can cause some fading over time, especially in bright light.
Can I preserve flowers that have already wilted? Yes, in most cases. If they’re not fully dried out and crumbling, silica gel or air drying can still salvage their shape. Even loose petals from a wilted bouquet can be pressed or used in resin projects.
Is it expensive to preserve flowers at home? Not really — air drying and book pressing cost basically nothing. Silica gel and resin kits are a bit pricier but usually run under $20-30, and they’re reusable for future projects.
How soon after receiving flowers should I start preserving them? As soon as possible, ideally within a day or two, while the petals are still firm and vibrant. Waiting too long means dealing with wilted, floppy flowers that are trickier to work with.