I didn’t plan on becoming an expert in boys’ bedroom paint. It just sort of happened after my sister asked me to help redo her son’s room, and what should’ve been a weekend project turned into three separate repaints over eight months. Kids change their minds. A lot.
The first time, we went with a bright red accent wall because eight-year-old Danny insisted it was “the coolest color ever.” Two months later he told us it looked “too much like a fire truck” and wanted it gone. So we repainted. Then he saw a friend’s room with glow-in-the-dark stars and wanted galaxy vibes, which meant another repaint with a navy base. By the third round, I’d learned more about paint sheens, primer, and stubborn eight-year-olds than I ever expected to.
If you’re about to paint a boy’s room, here’s what I wish someone had told me before I bought that first can of fire-engine red.
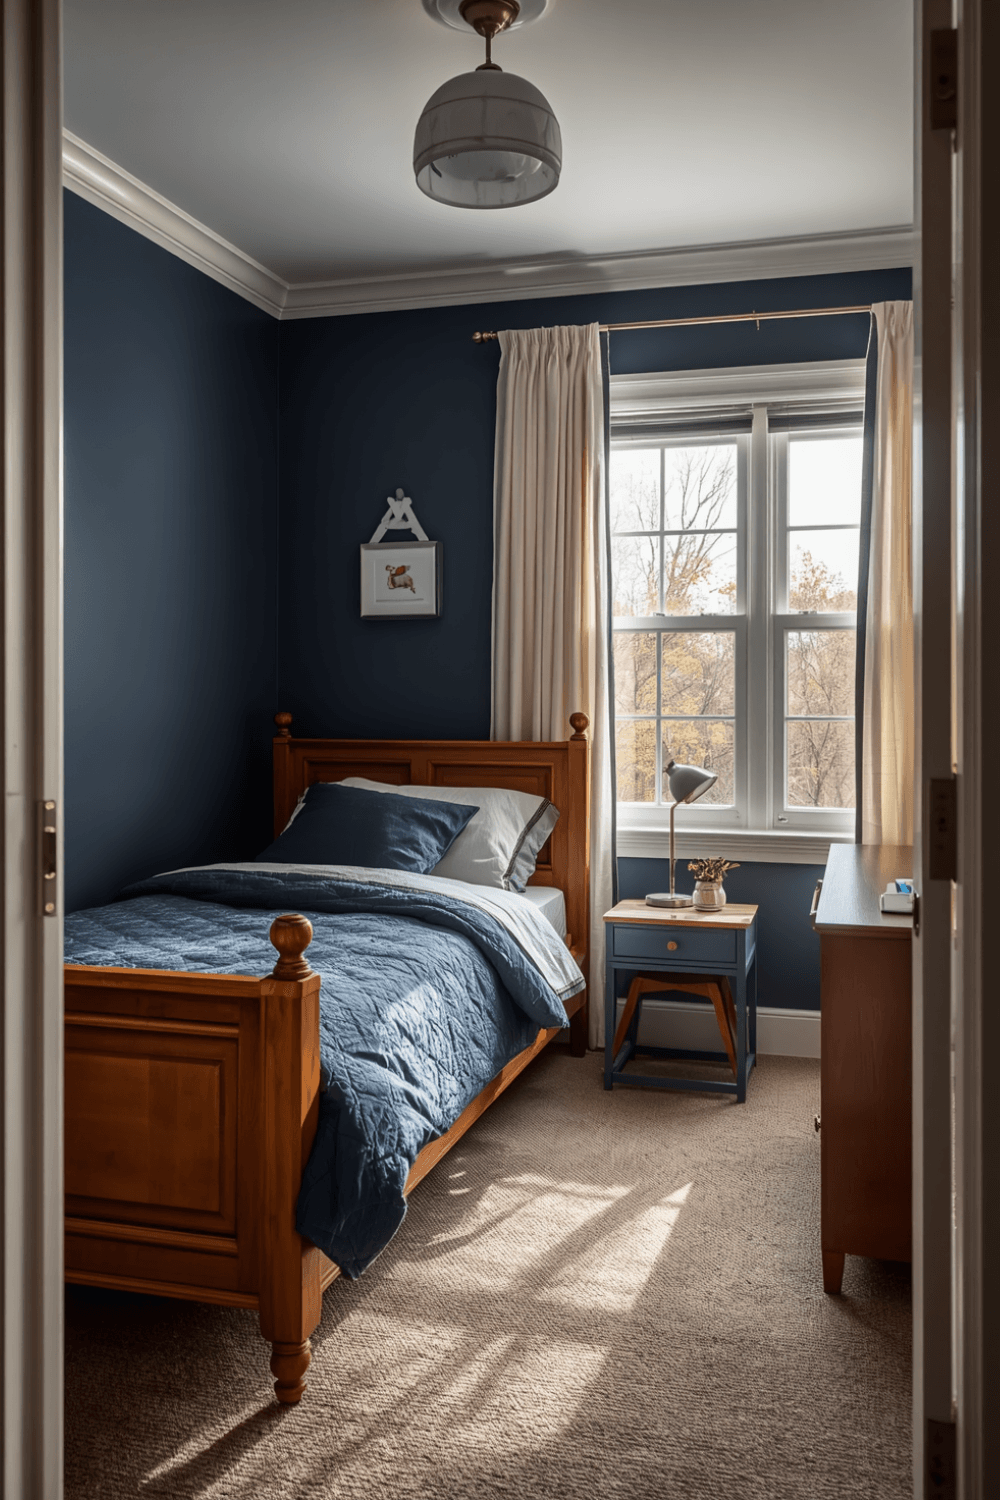
Start With How Long You Want the Color to Last
Before picking a color, ask yourself one honest question: is this a “forever room” color or a “phase” color? Boys, especially between ages 5 and 12, go through phases fast. Dinosaurs turn into space, space turns into gaming, gaming turns into “just paint it black, Mom.”
What worked for us eventually was picking a neutral base color that could stay for years, and adding the trendy stuff through removable elements instead of full walls.
Colors That Actually Worked (and a Few That Didn’t)
1. Soft navy or slate blue
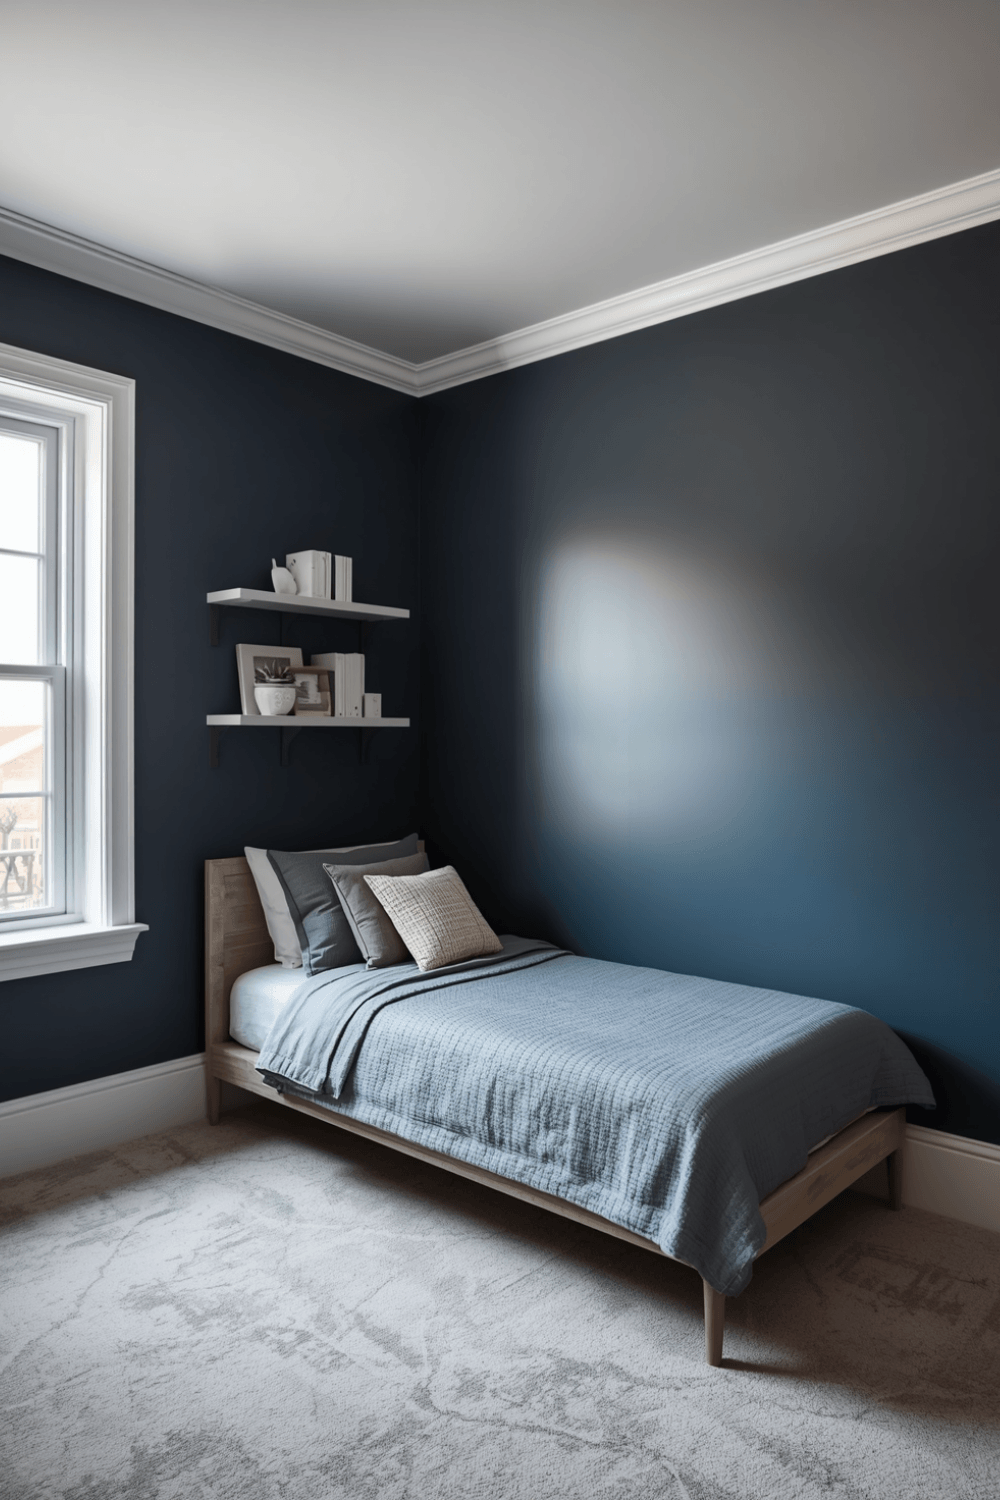
This ended up being our final choice, and honestly, I should’ve suggested it from day one. It reads as calm during the day and doesn’t feel babyish, which matters more than people think because kids notice when a room starts to feel “too little kid” for them.
2. Warm gray
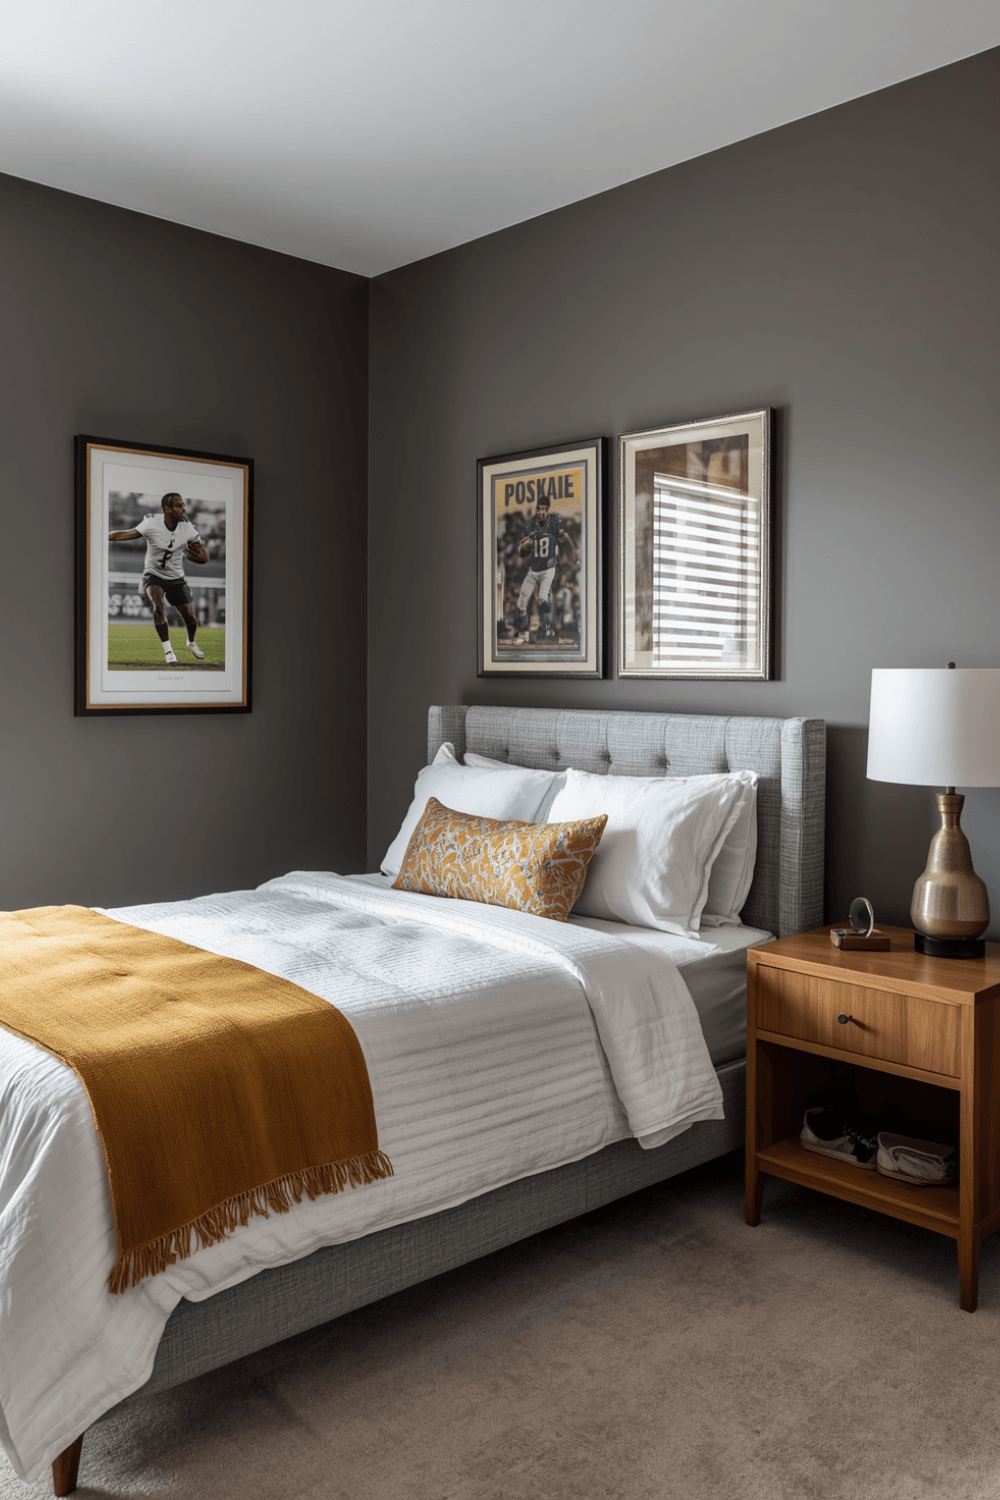
We used this in Danny’s older cousin’s room. It’s the paint equivalent of a plain white t-shirt — goes with everything, easy to accessorize around, doesn’t scream any particular age group.
3. Forest or hunter green
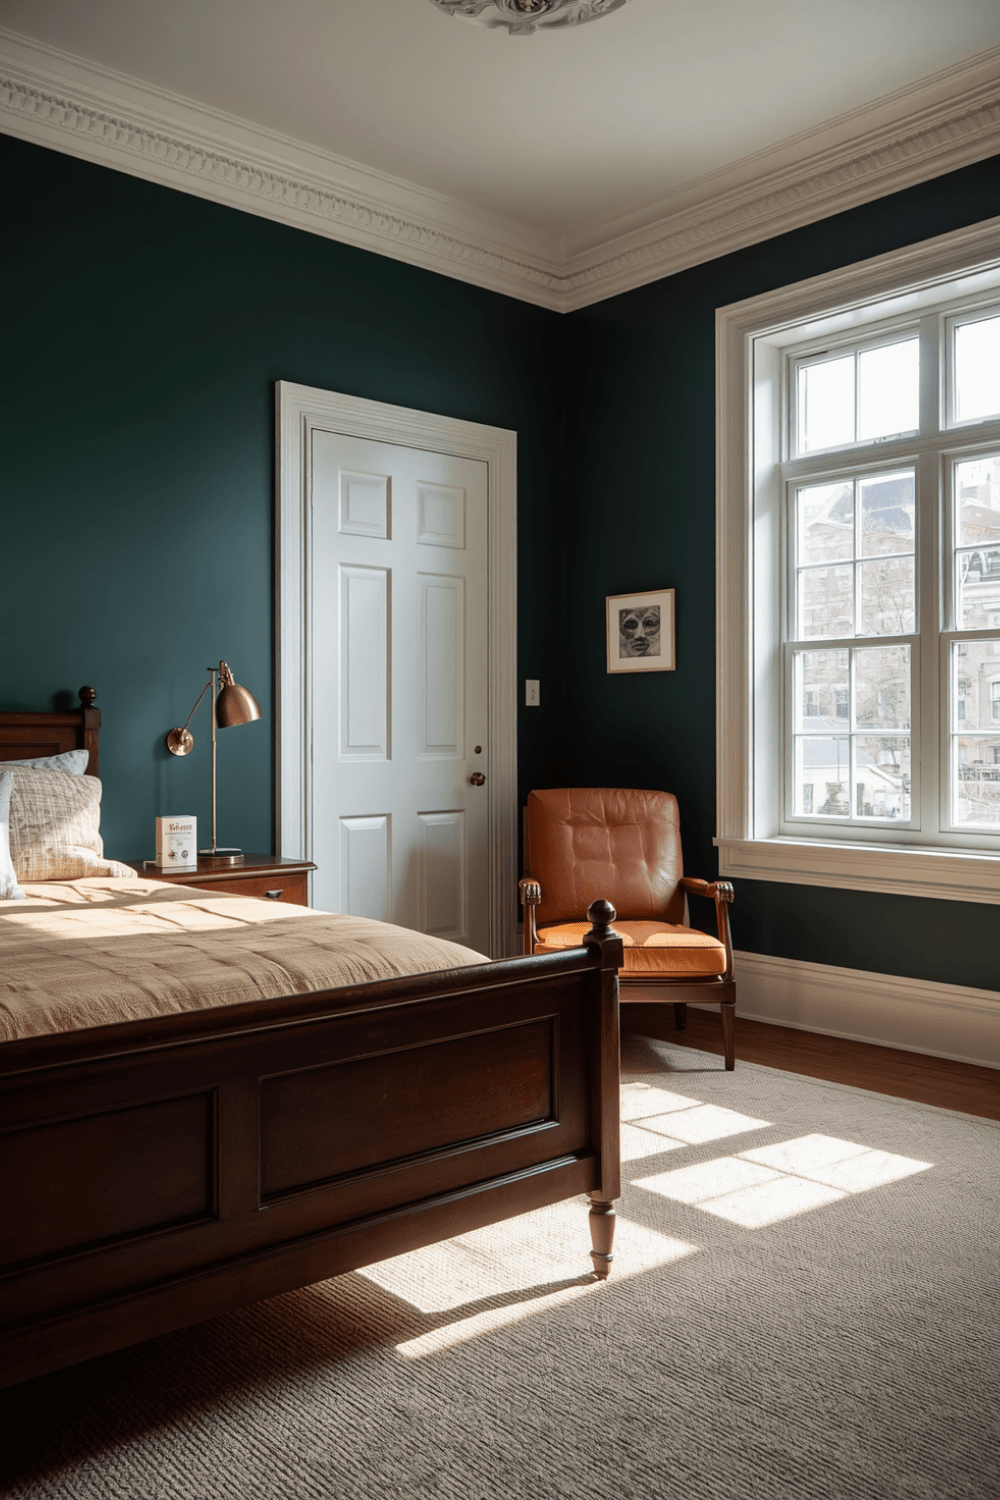
I was skeptical about this one, but a friend used it in her son’s room with white trim and it looked way more sophisticated than I expected. Works especially well if the room gets decent natural light.
4. Bright red (learn from my mistake)
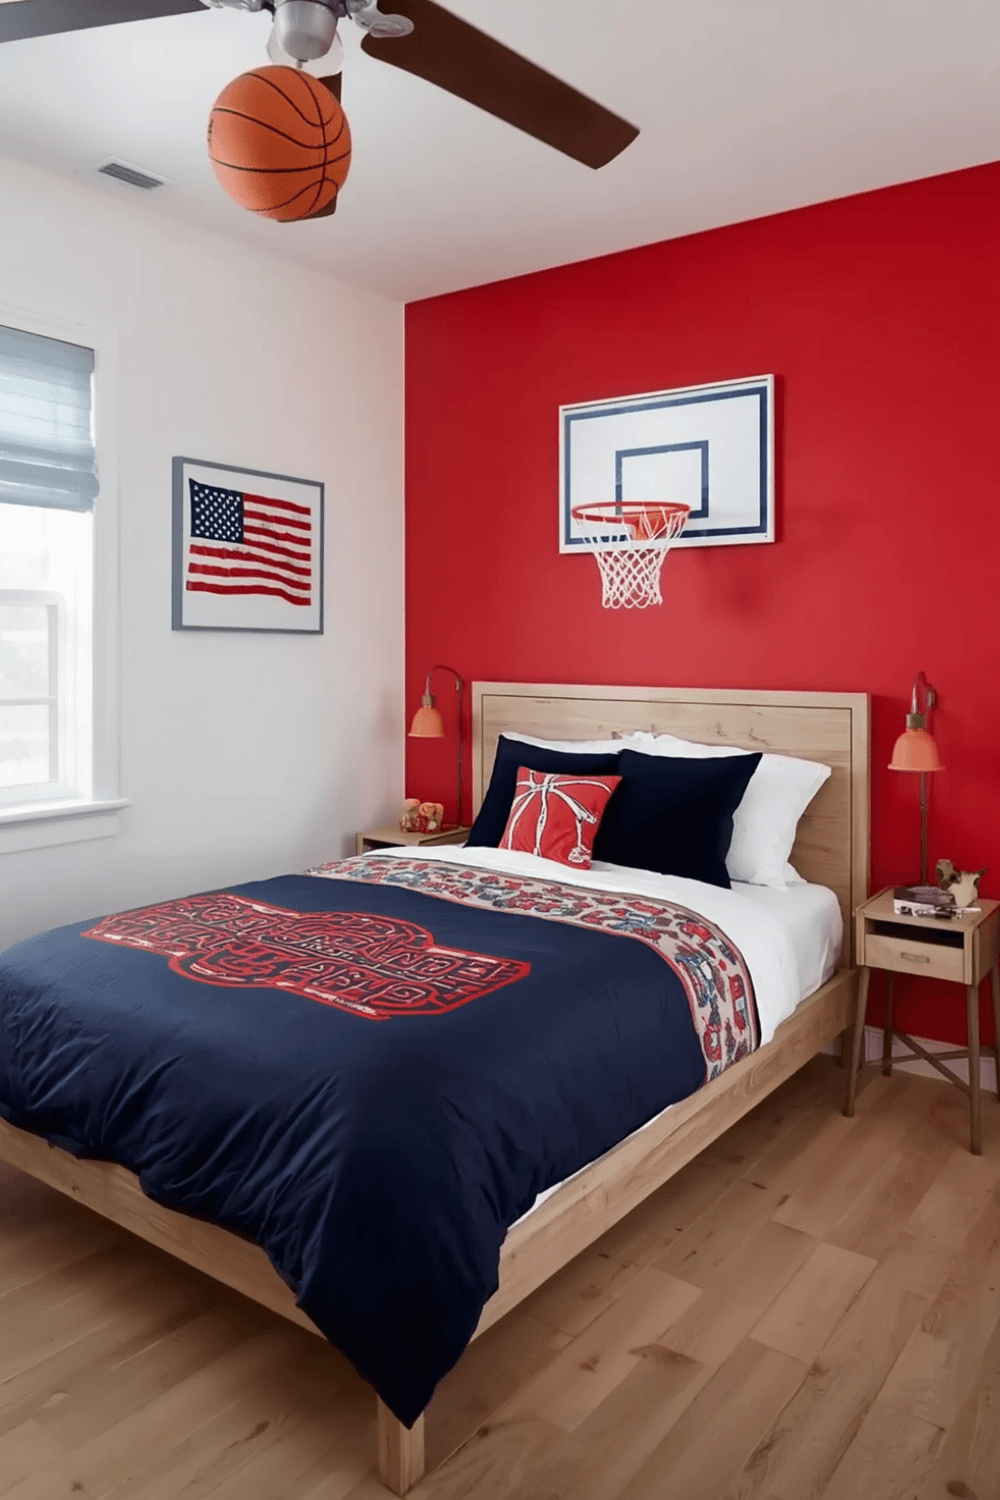
Skip full walls in bright red unless your kid is genuinely committed. It’s intense in a small room, it shows scuff marks fast, and it dates quickly once the “phase” passes. If they love red, use it in bedding, a rug, or one small accent instead.
5. Black accent wall
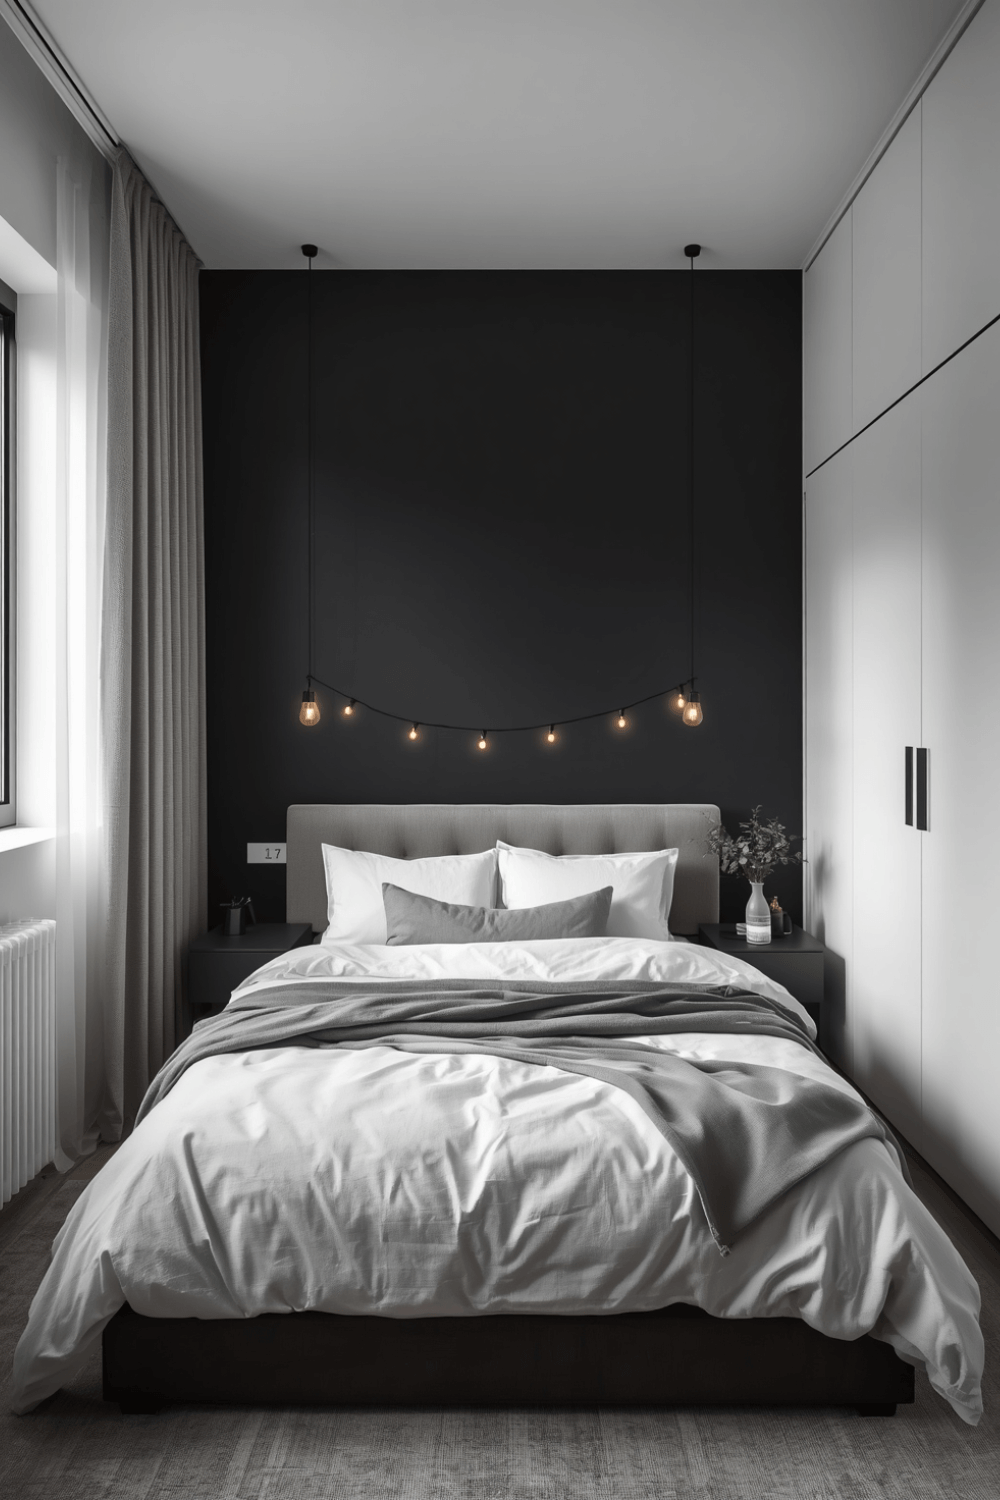
This surprised me. For an 11-year-old cousin’s room, we did one black wall behind the bed with everything else in white, and it looked genuinely cool, almost like a dorm room upgrade. Just know black shows dust and fingerprints more than lighter colors, so it’s not great near light switches or doors.
The Step-by-Step Process (Including What I Messed Up)
Step 1: Test the color in the actual room, at different times of day.
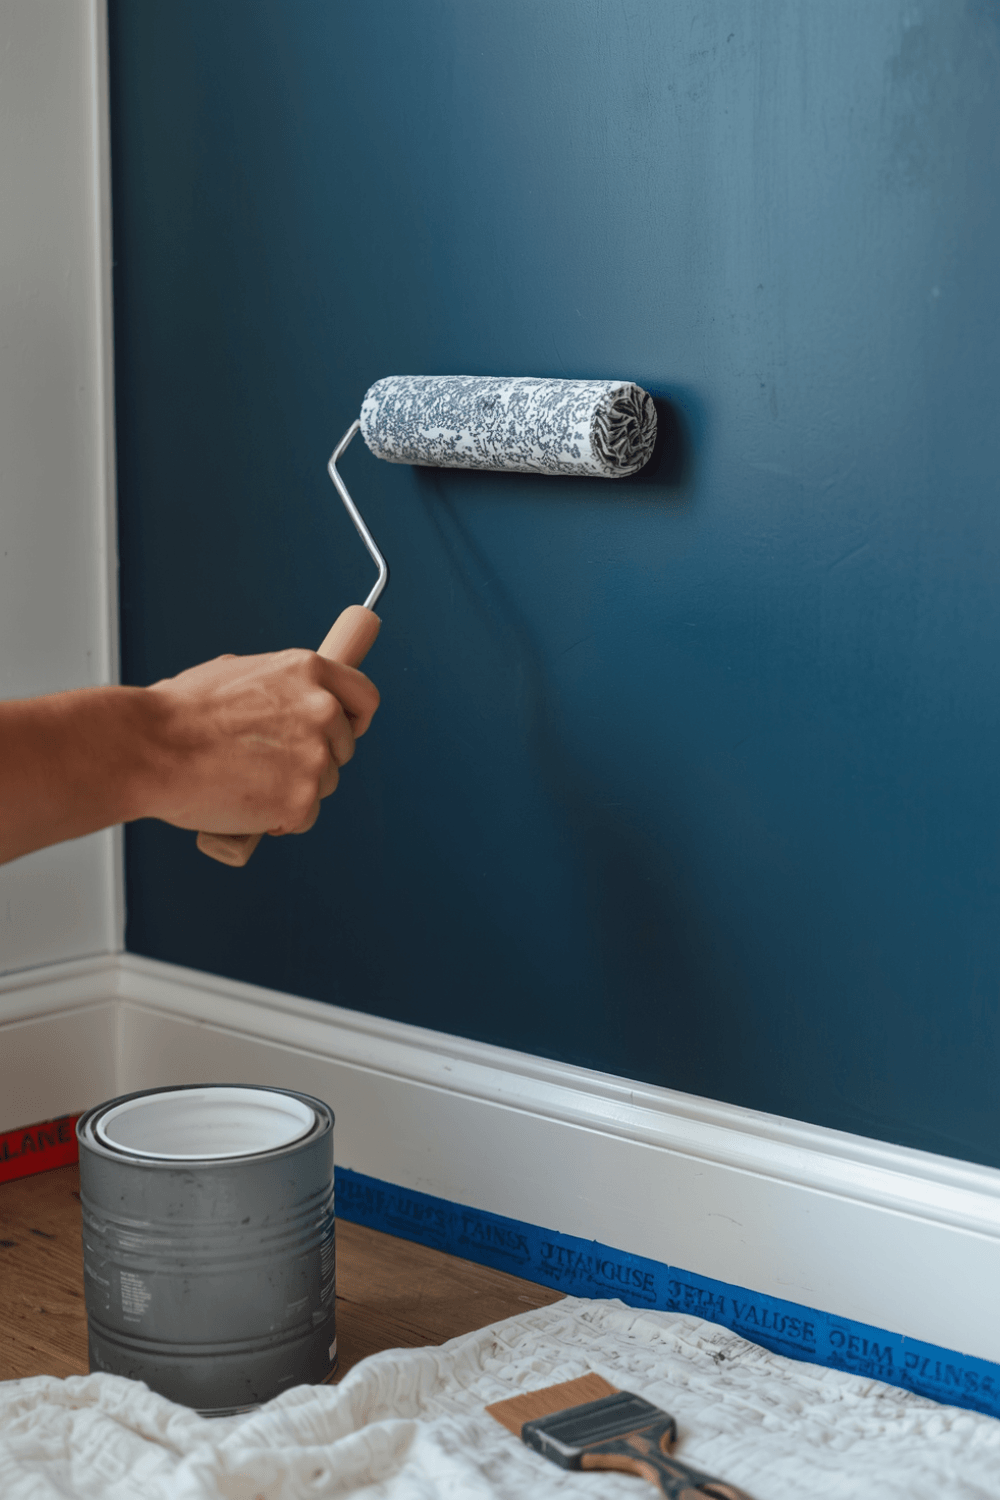
I skipped this the first time and regretted it. That red looked totally different under Danny’s overhead light versus daylight from the window. Buy a small sample pot, paint a patch on the wall, and look at it in the morning and at night before committing.
Step 2: Prime over dark or patchy walls.
When we went from red to navy, I tried skipping primer to save time. Bad idea. The red bled through slightly and gave the navy an odd purplish tint in patches. One coat of a decent primer (we used Kilz) would’ve saved me an extra coat of paint and a lot of swearing.
Step 3: Pick the right sheen, not just the right color.
Eggshell or satin finish is the sweet spot for kids’ rooms. Flat paint looks nice but scuffs if you so much as breathe on it, and with boys throwing backpacks and bouncing balls off walls, flat just doesn’t survive. Semi-gloss is easier to wipe down but shows every roller mark, so it’s a trade-off.
Step 4: Tape off trim and let it fully dry before removing.
Simple thing, but I pulled painter’s tape too early once and peeled a thin strip of fresh paint right off the trim with it. Wait at least a couple hours after the final coat, longer if it’s humid.
Step 5: Add the “phase” elements separately from the wall color.
This was the real lesson from the whole ordeal. Instead of repainting every time Danny’s interests changed, we started using removable decals, string lights, and posters for the trendy stuff, while the wall color stayed neutral. When space gave way to gaming, we just swapped the decor, not the paint.
Common Mistakes I’d Tell Anyone to Avoid
- Going too trendy with the wall color itself. Trends belong on removable stuff, not permanent paint.
- Ignoring the closet and door. We painted the walls beautifully and left the closet doors that ugly builder-white, and it looked unfinished until we matched the trim color throughout.
- Underestimating how much light changes a color. A north-facing room makes cool colors feel colder and grayer than the paint chip suggests.
- Not asking the kid enough questions before starting. Danny’s first choice wasn’t really about liking red, it turned out he just liked how his friend’s room looked, and his friend’s room was actually more about the LED lights than the wall color. A ten-minute conversation about what he actually liked would’ve saved a repaint.
- Cheaping out on paint quality. We tried a budget brand once for a “just testing it out” wall, and it needed three coats to look even. Spent more time and paint than if we’d just bought the better stuff upfront.
What I’d Do Differently
If I were starting over with Danny’s room today, I’d pick that soft navy from the beginning, do the primer properly, and lean entirely on decals, bedding, and lighting for whatever phase he’s currently obsessed with. Paint is the expensive, time-consuming part to change. Everything else is cheap and fast to swap out.
His room’s been navy for over a year now, through a Minecraft phase and now a basketball phase, and the walls haven’t needed to change once. That’s really the whole trick with boys’ rooms: pick a color that can quietly sit in the background while everything else does the changing.