Two summers ago I stood in my backyard staring at a cracked concrete slab that used to be my “patio,” and I remember thinking — this has to look better than a parking lot. That’s how the bluestone project started. Not from a design magazine, not from some grand vision. Just from being embarrassed every time someone came over for a barbecue.
I’d seen bluestone patios online for years and always assumed they were one of those “rich people” upgrades — the kind of thing you see in a home tour video and immediately close the tab. Turns out it’s a lot more doable than I thought, but also a lot more involved than the pretty photos make it look. So here’s what actually happened, mistakes included.
Why Bluestone Even Caught My Attention
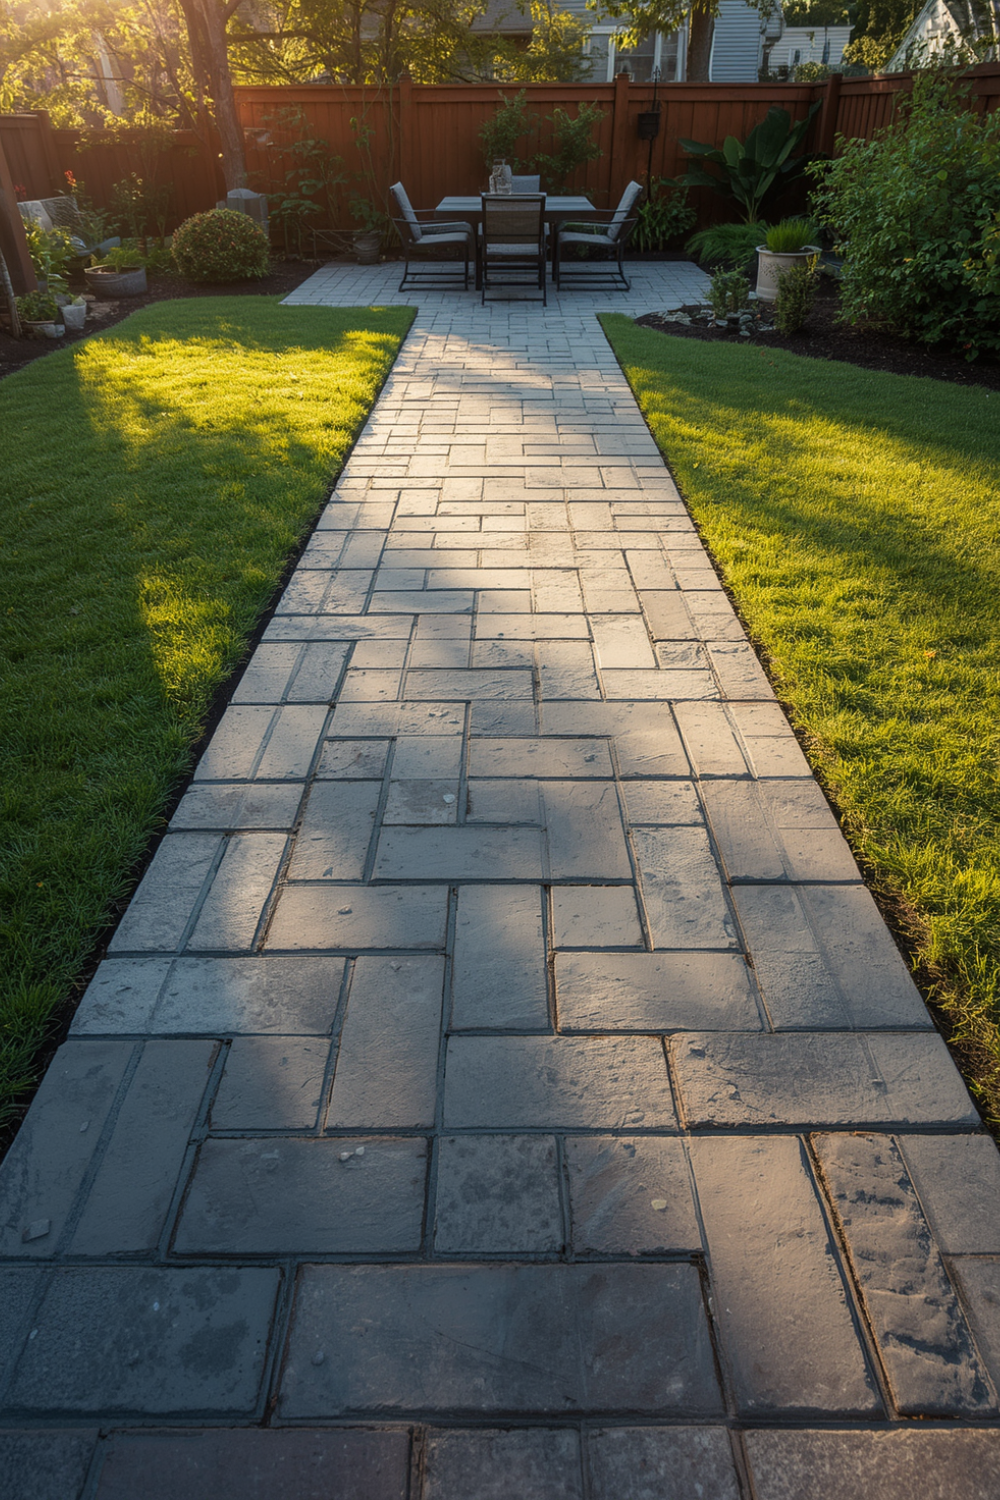
Bluestone isn’t actually blue, by the way. That threw me off at first too. It’s a type of sandstone that ranges from blue-gray to a warm tan-brown depending on where it’s quarried and how it’s cut. The color shifts depending on the light — which is honestly one of my favorite things about it now. In the morning my patio looks almost slate gray, and by evening it warms up to more of a golden-brown.
What sold me on it wasn’t the color though. It was how it looked next to grass and plants. Concrete always felt cold and flat to me, but bluestone has this natural, slightly irregular texture that actually looks like it belongs outside instead of looking dropped in from a driveway.
The Two Types Nobody Explains Clearly Enough
Before I started, I didn’t realize bluestone comes in two very different forms, and this matters a lot for both budget and look.
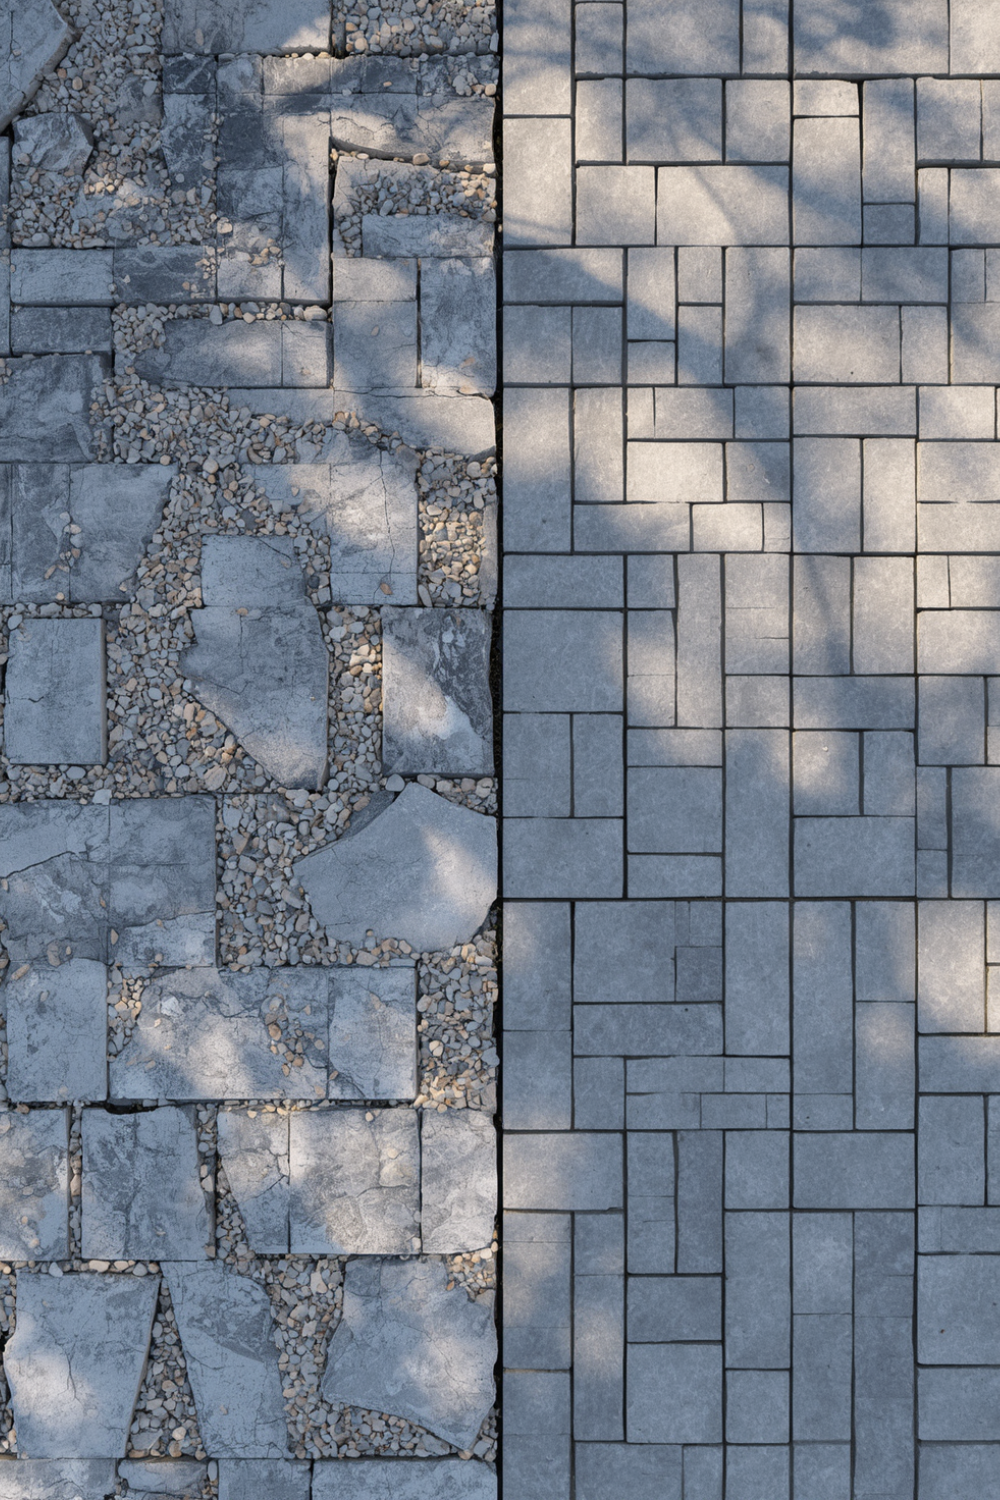
Irregular flagstone bluestone — random shaped pieces, fitted together like a puzzle, with gaps filled with gravel, sand, or polymeric sand. This is the “natural, organic” look you see in a lot of garden patios.
Thermal cut bluestone (square/rectangular cut) — uniform, machine-cut edges, smoother surface, laid in a grid pattern. This looks more modern and clean, closer to what you’d see around a pool.
I went with the cut rectangular style because my backyard is small and I wanted it to look a bit more intentional, not busy. If you’ve got a bigger, more garden-style yard, the irregular flagstone honestly looks incredible and feels more organic.
What the Process Actually Looked Like (Step-by-Step)
I hired a local hardscaping contractor for the install because bluestone is heavy and the base prep needs to be done right, or the whole thing shifts and cracks within a year or two. But here’s roughly how it went, in case you’re planning something similar or just want to understand what you’re paying for.
Step 1: Old surface removal The old concrete slab had to be broken up and hauled out. This alone took a full day and was louder than I expected — worth warning your neighbors ahead of time.
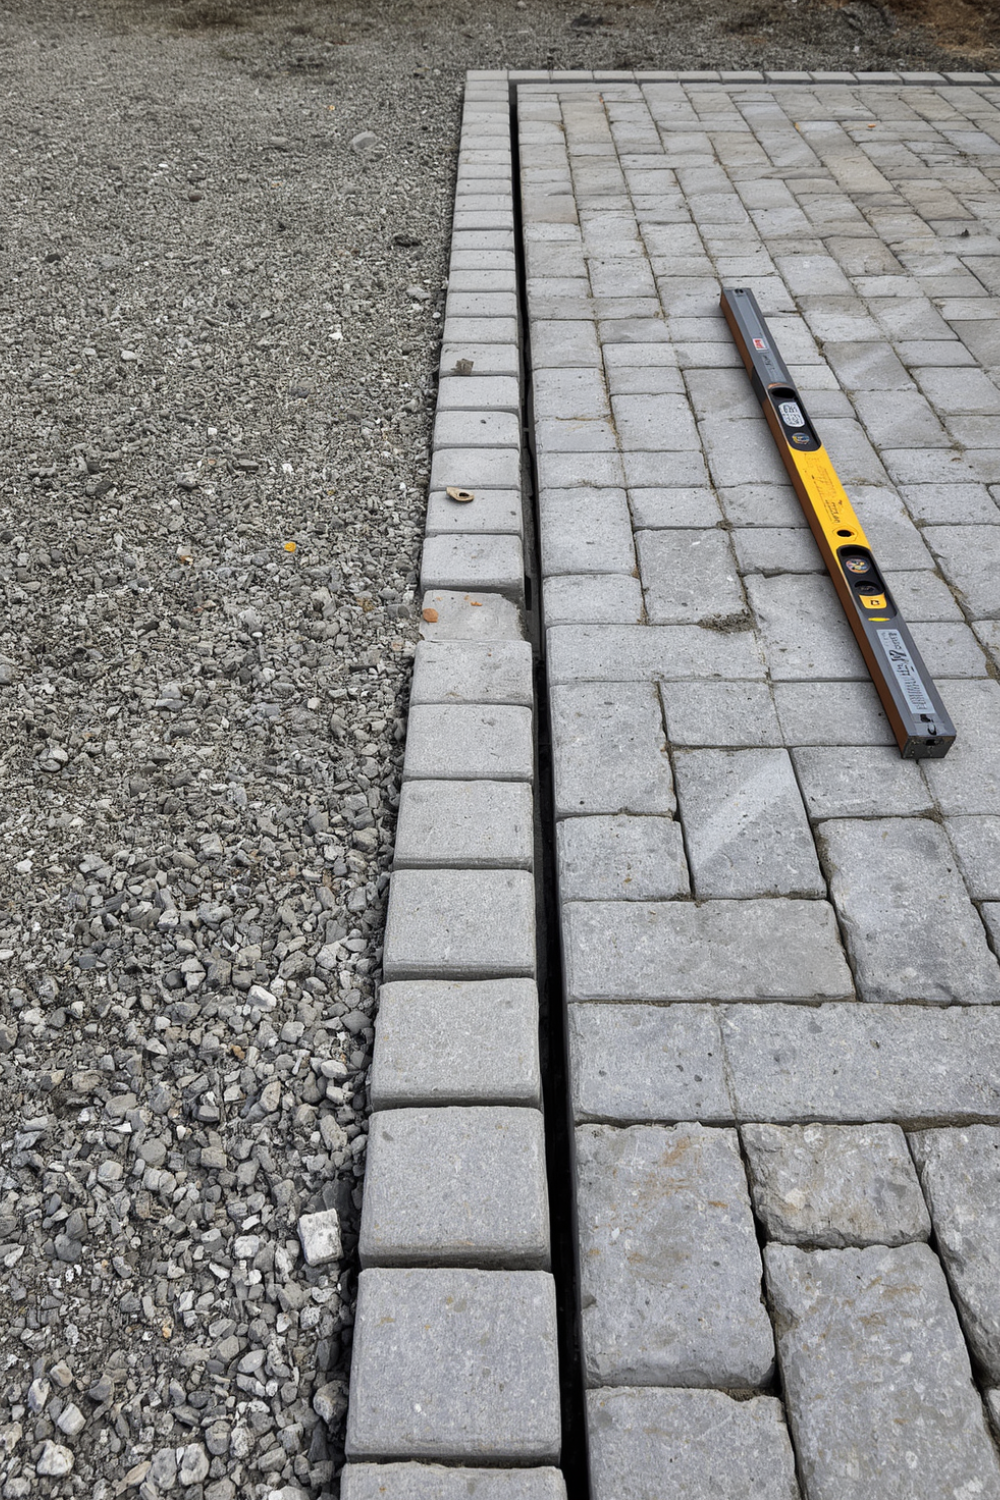
Step 2: Base preparation This is the part nobody shows in the pretty “after” photos. You need a compacted gravel base, usually 4-6 inches, before any stone goes down. Skipping this step is the number one reason bluestone patios crack or become uneven over time. My contractor used a plate compactor to pack it down properly.
Step 3: Sand or mortar setting bed Depending on whether you’re doing a “dry-set” (sand base) or “wet-set” (mortar/concrete base) installation, this step changes. I went with a mortar-set installation since my patio connects to the house and I wanted it more permanent and less prone to weeds pushing through gaps.
Step 4: Laying the stone Each piece gets set individually, leveled, and spaced. This took two full days for a roughly 300 square foot patio. Watching them level each stone by hand made me understand why the labor cost was what it was.
Step 5: Jointing and sealing Gaps between stones get filled — I used polymeric sand, which hardens and helps prevent weed growth. After everything cured, we sealed the stone to protect it from staining and to bring out the color a bit more.
The Mistake That Cost Me an Extra Weekend
I initially wanted to skip sealing the stone to save money. My contractor warned me against it, but I figured I’d deal with it “later.” Three weeks in, I spilled a glass of red wine during a get-together and watched it soak straight into the stone. It never fully came out of that one spot. Lesson learned — seal it before you use it, not after something happens.
Real Furniture and Setup Ideas That Actually Worked
Once the patio was down, I made a few decisions that ended up making a bigger difference than I expected:
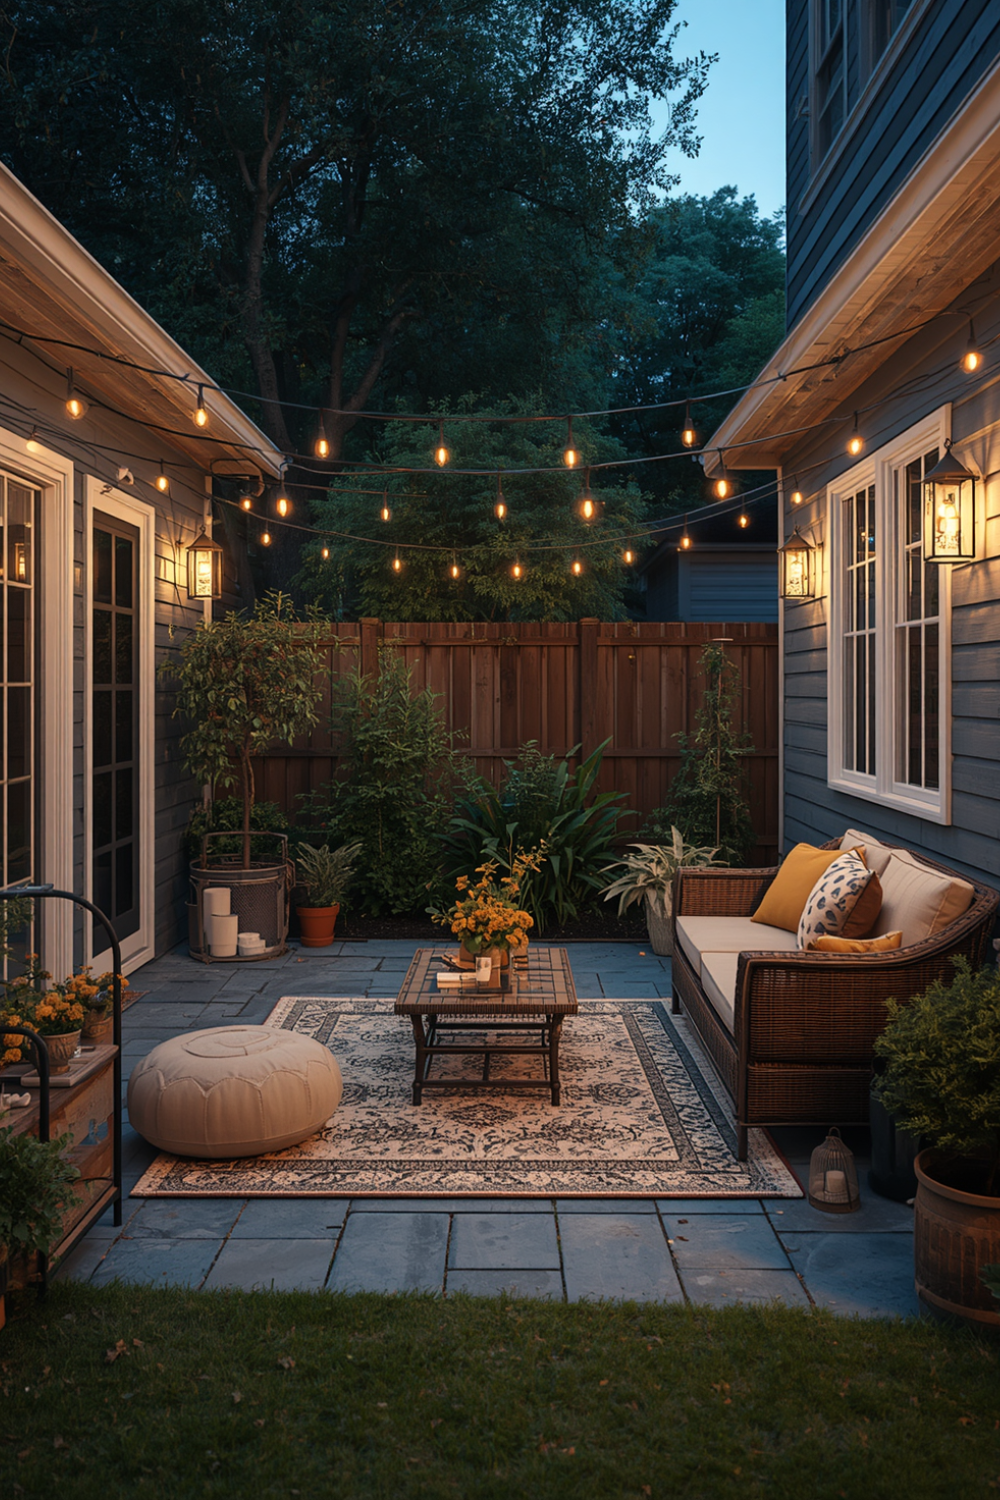
Outdoor rug over the stone — sounds unnecessary on stone, but a large weather-resistant rug (I used one from Wayfair’s outdoor collection) tied the seating area together and made it feel more like a room instead of just a slab outside.
String lights on a timer — I used a simple solar-powered string light set and a cheap outdoor timer plug so I never had to remember to turn them on or off.
Planters along the edges instead of a garden bed — I originally planned a full garden border, but potted plants turned out to be way easier to maintain and let me rearrange things when I got bored of the layout.
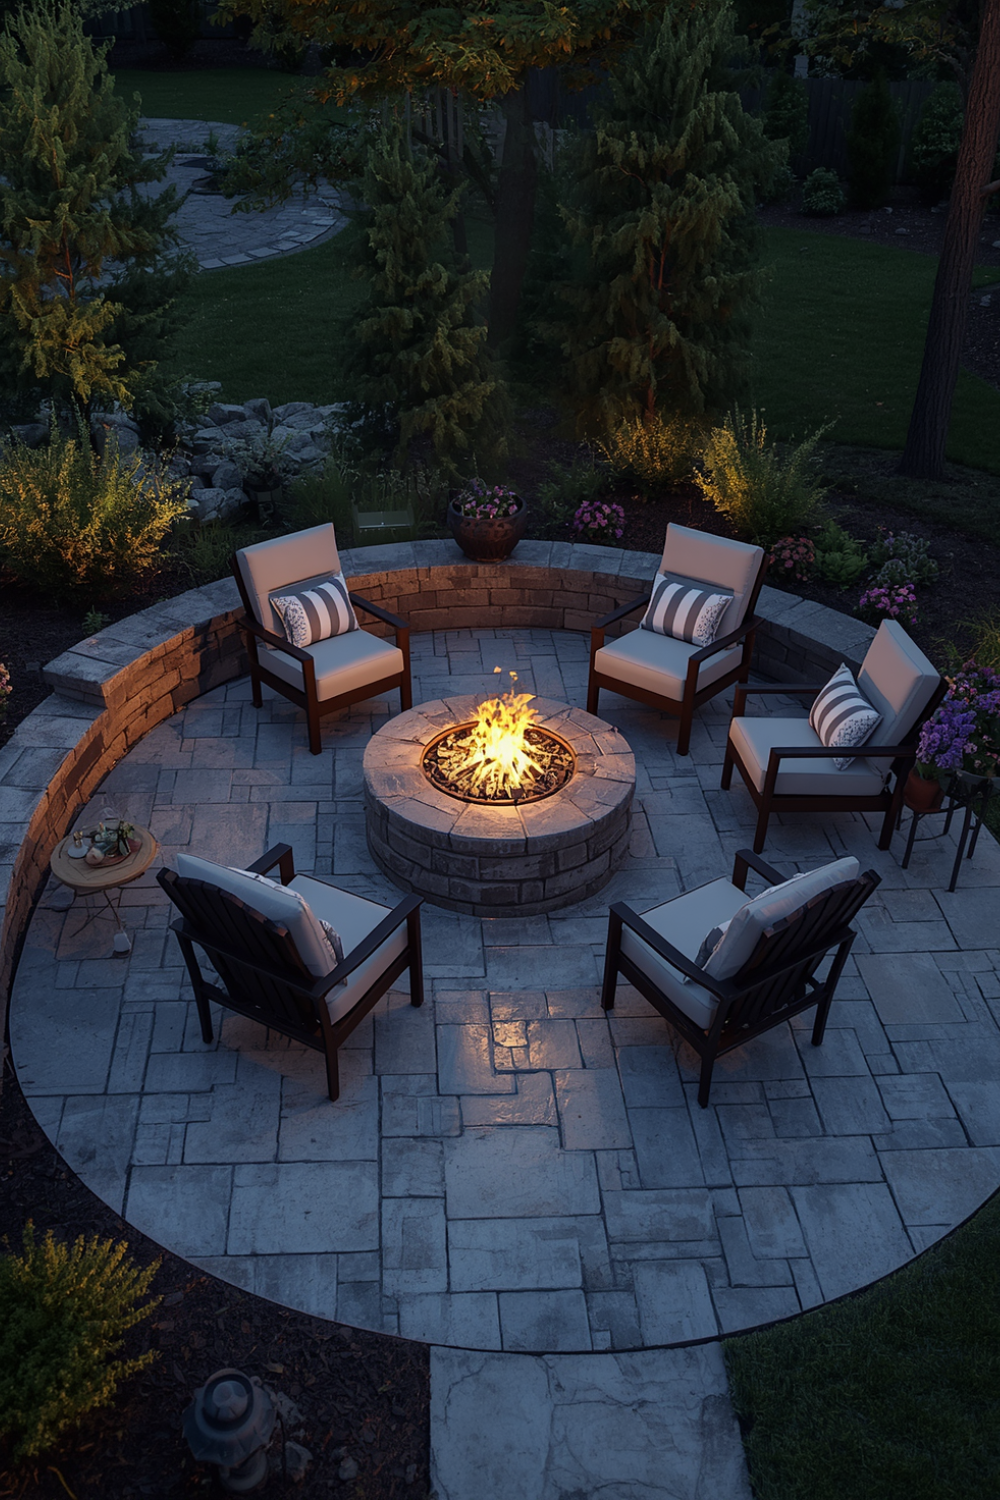
A firepit off to the side, not centered — I almost put the firepit dead center, but centering it made the space feel cramped. Pushing it to one corner opened up the whole patio for actual movement.
Common Mistakes I’d Tell Anyone to Avoid
Not checking drainage before installation. My neighbor did her patio without addressing yard slope, and now water pools near her back door after every heavy rain. Get this checked before stone goes down, not after.
Choosing stone color without seeing it in your actual light. Bluestone samples look different indoors under store lighting versus outside in your yard. I brought home three samples and left them outside for two days before deciding.
Underestimating the weight for DIY installs. I briefly considered doing this myself before realizing full bluestone slabs are incredibly heavy and uneven ground work is not something you want to learn on the fly. If you’re not experienced with hardscaping, this is one project worth hiring out.
Skipping the sealant, like I almost did. Already covered this one, but it’s worth repeating because it’s the most common regret I’ve seen other homeowners mention too.
Not budgeting for the base prep. A lot of quotes online only show per-square-foot stone pricing and skip base prep costs, which can be a significant chunk of the total project.
Final Thoughts
My patio isn’t perfect. There’s still a faint wine stain if you look closely at the right angle, and I second-guess the firepit placement more than I’d like to admit. But it’s the first outdoor space I’ve actually wanted to sit in instead of just walking past on the way to the grill.
If you’re thinking about bluestone, my honest advice is to slow down on the parts that seem boring — the base prep, the sealing, the drainage — because those are the things that decide whether you’re enjoying your patio in five years or redoing it.